Art Practice: Paper on Panels
Without a doubt, the question I am asked more than anything concerning my art practice is how I create my watercolor wood panels and how I attach watercolor paper to wood panels. In this short, but informative picture tutorial, I share a method that has worked very well for me. If you are an artist, you may already use this technique in your practice. If you are an emerging artist, I hope you enjoy this “behind the scenes” information and try it for yourself.

Supplies Needed:
Watercolor paper of your choice, wood panels, Xacto Knife, Paint Brushes, Artist Grade Adhesive, Cotton Tablecloth, and a Cutting Mat (not shown).
Note: Some substitutions can be made for your supplies, however, using an artist-grade adhesive and a cotton tablecloth has proven to be very effective. An artist-grade adhesive is formulated to handle the types of paper and techniques artists’ use. With this brand (Golden Soft Gel Brilliant), I have found that it yields an even and consistent coverage - which is what you want. A cotton tablecloth or cover will allow your cotton watercolor paper to breathe and aid in helping the paper to dry evenly.
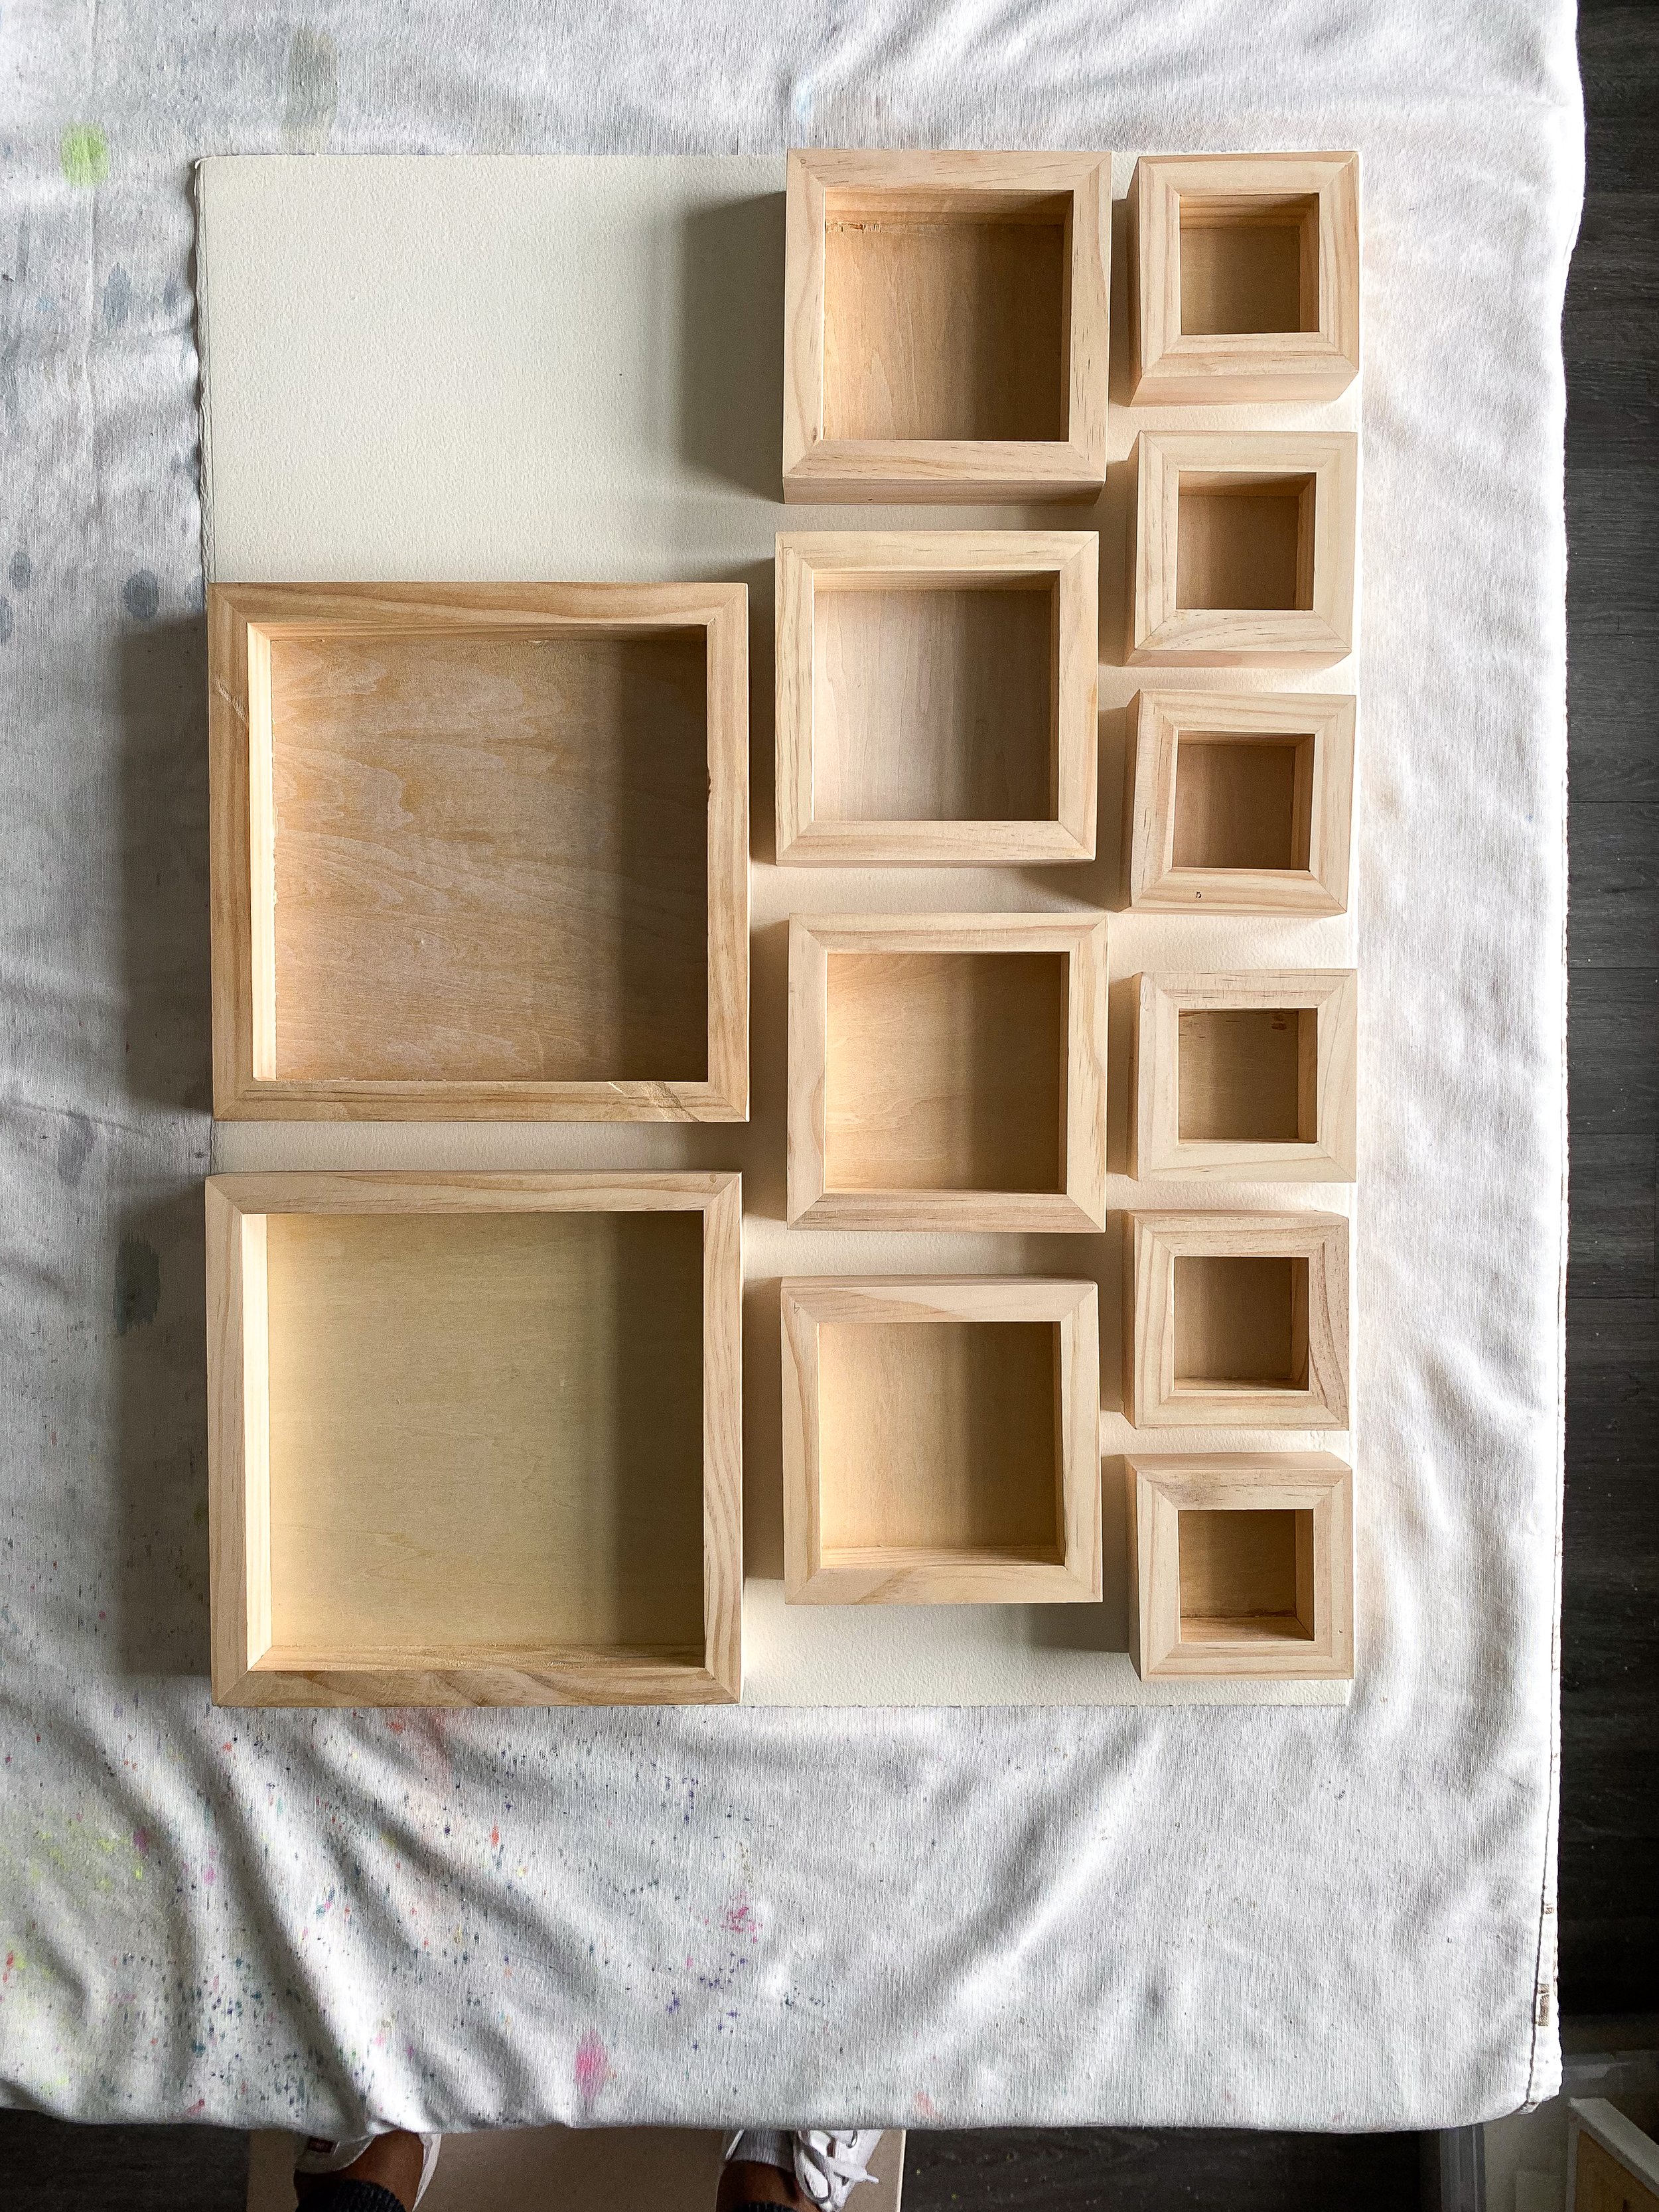
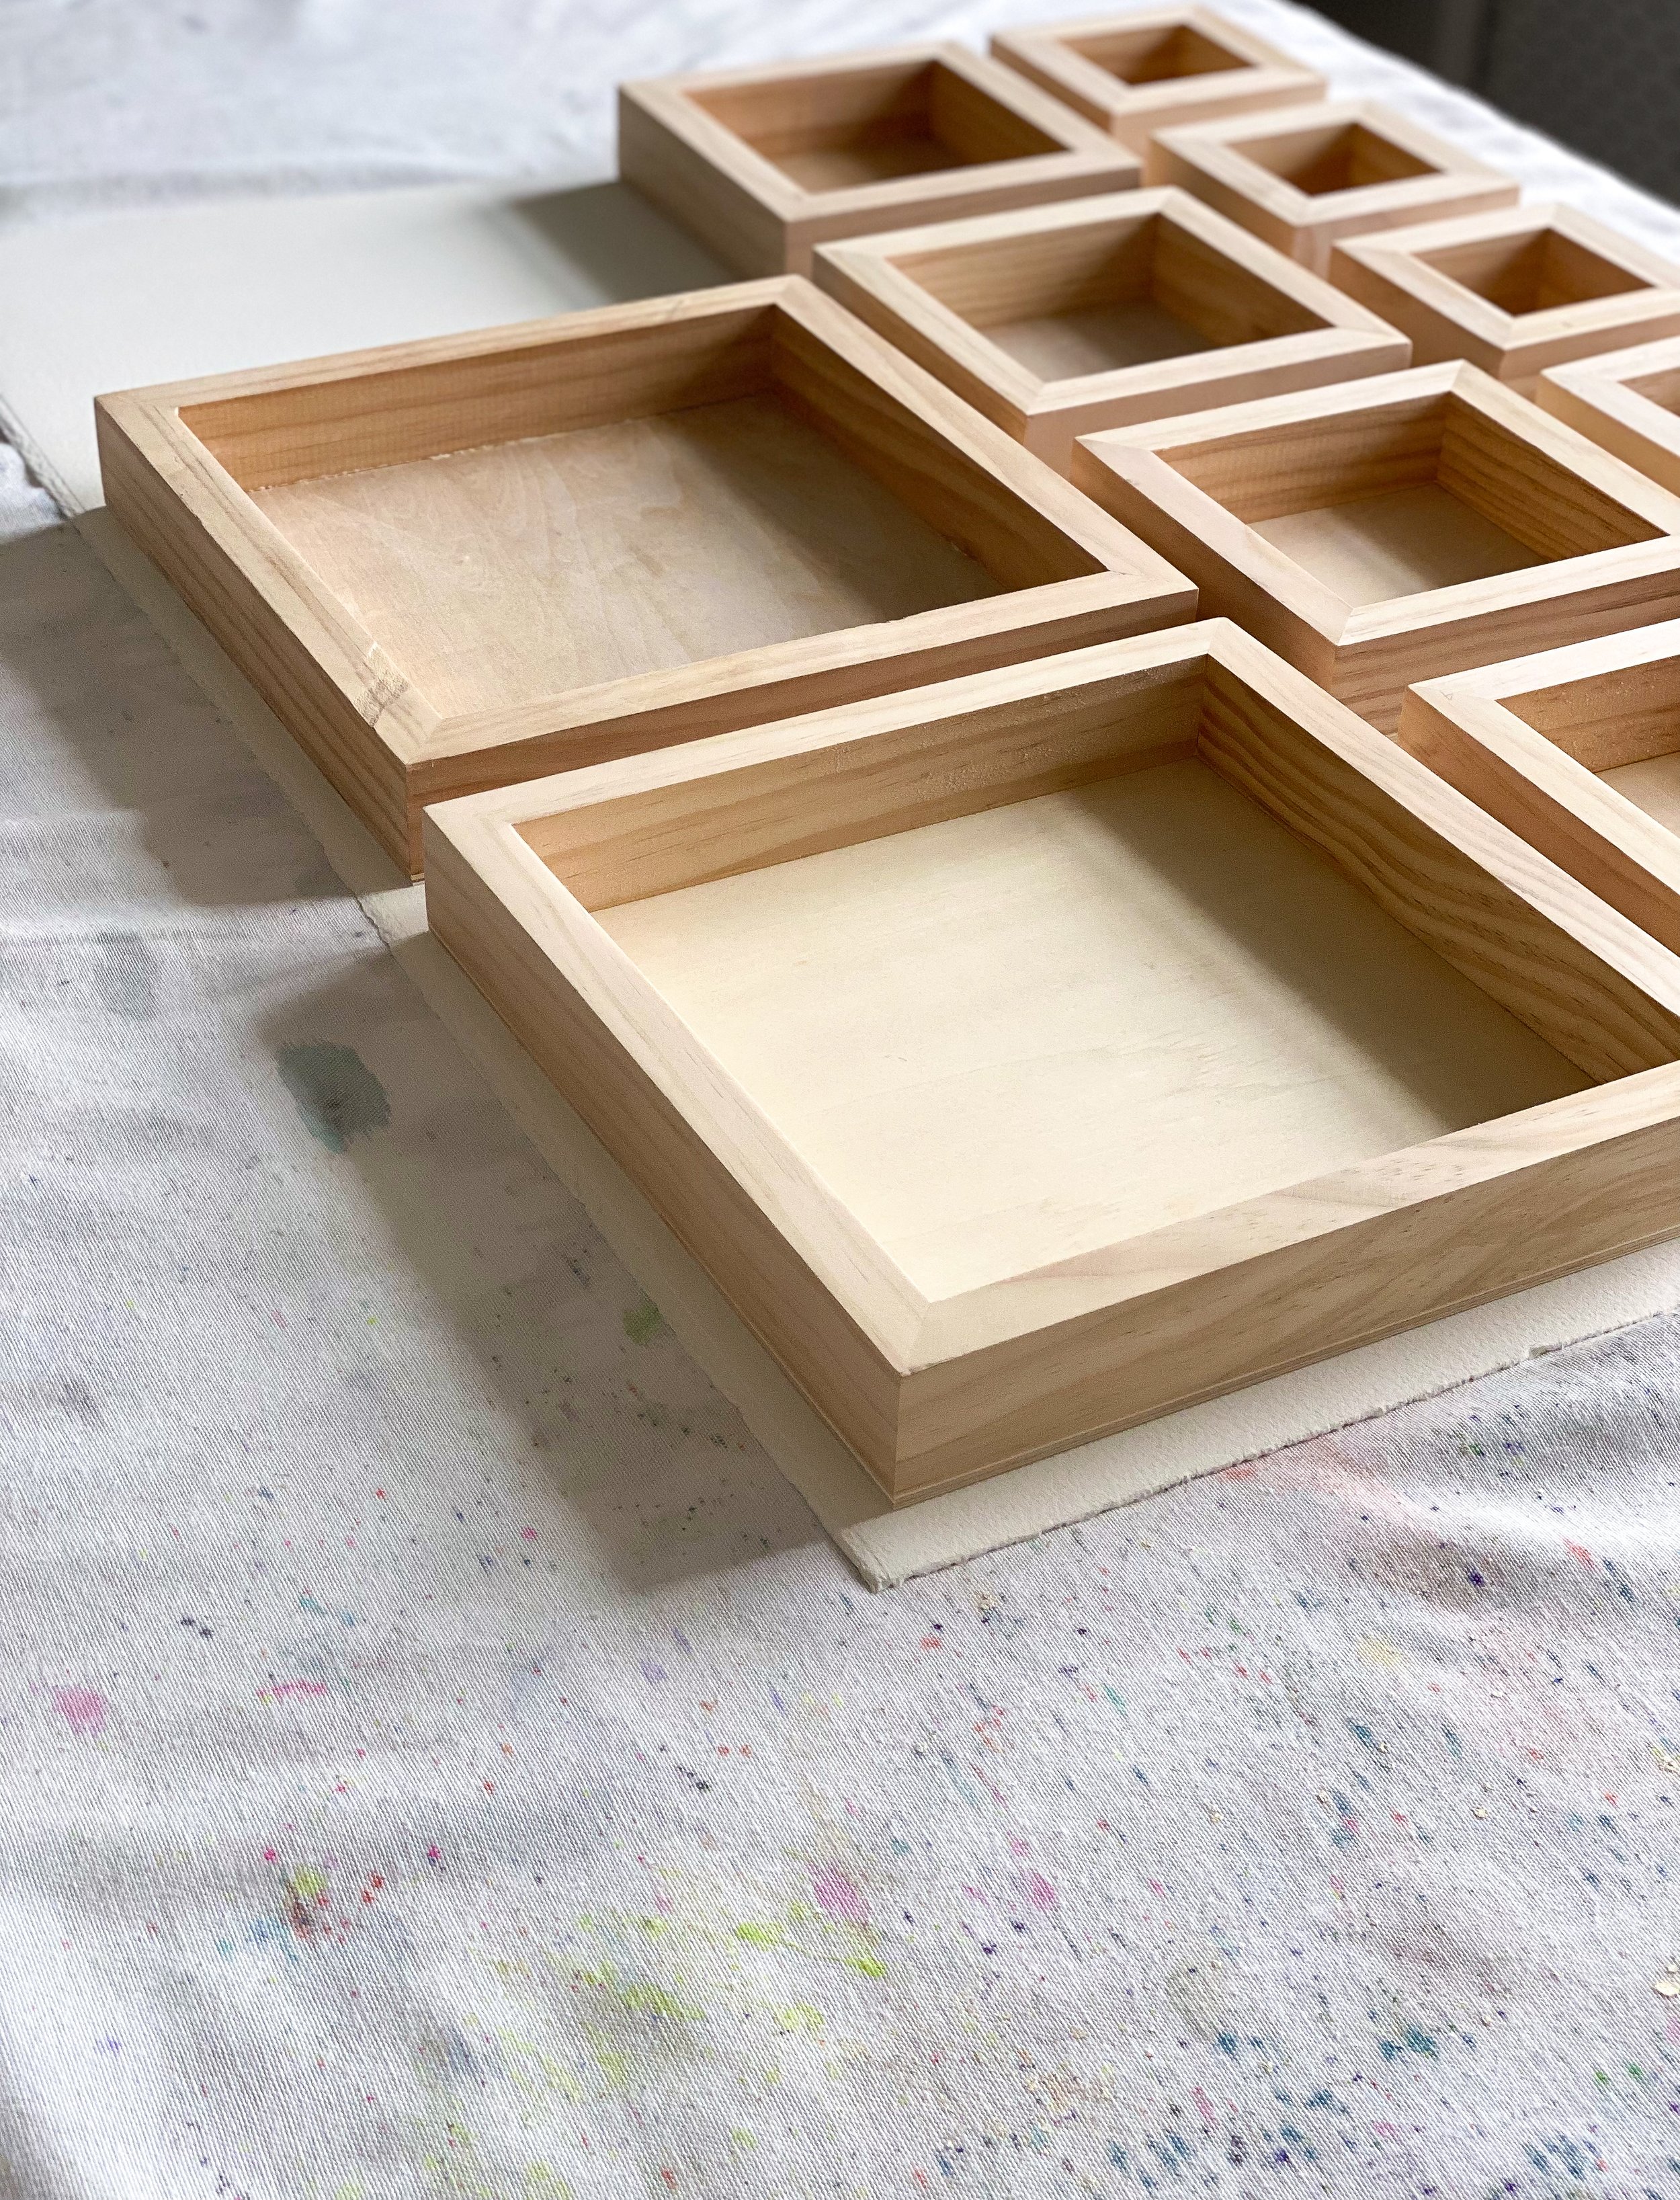
2. Panels on Paper (practice your layout, no glue):
Practice your layout first: Lay your watercolor paper with the painting side of the paper facing down the tablecloth. Place your wood panels face down on the watercolor paper (both your watercolor paper and your wood panels are facing the floor). Make sure you place all your wood panels with enough space between them for the Xacto knife to later cut the paper. This practice layout gives you an idea of how many wood panels will fit on your paper.
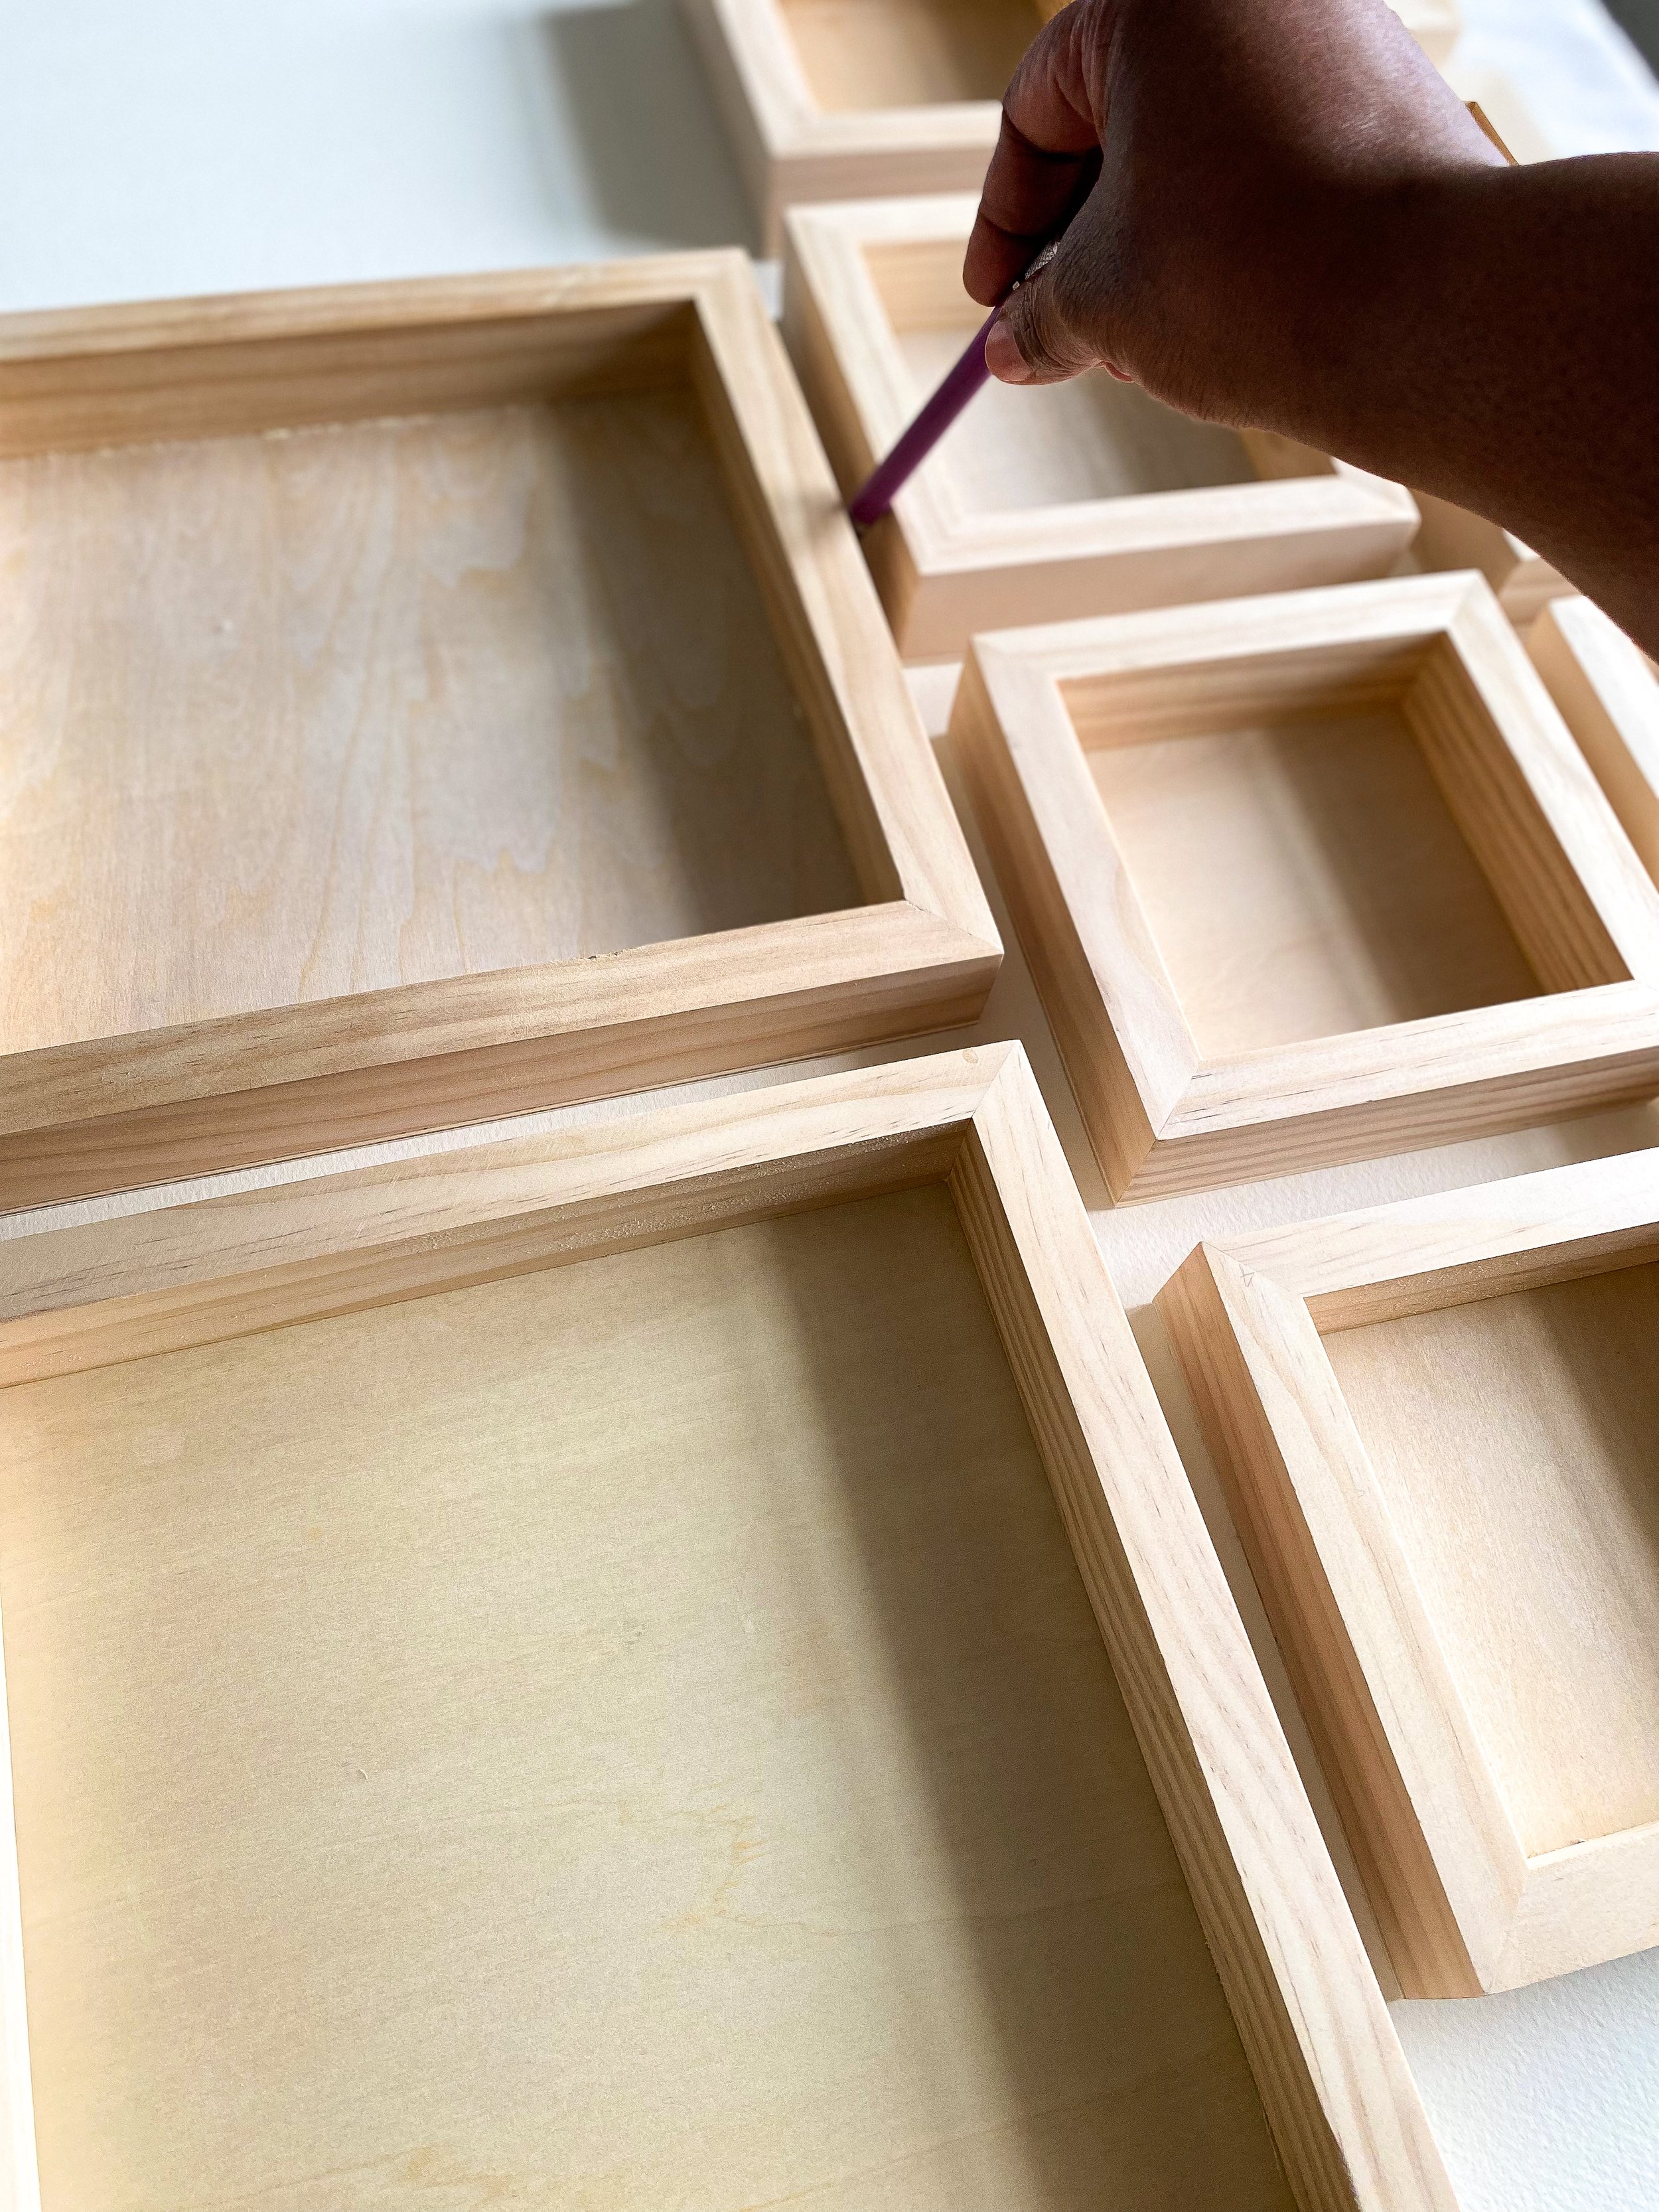
3. Panels on Paper (gluing your wood panels to watercolor paper):
With the same practice layout in mind from step 2, you are ready to apply glue to your wood panels. Using your paintbrush, dip your brush in the adhesive jar (I always get a pretty big jar, there are smaller sizes, however) and begin painting the glue onto the wood panel. Similar to painting your nails, you shouldn’t have too much glue, but you shouldn’t have too little either. Not enough glue could cause your paper to dry unevenly and too much glue causes the glue to ooze out on the sides of the wood panel, presenting a bit of a challenge when cutting later on.

4. Apply Weight:
I love my architectural library. As evenly as I can, I arrange heavy-weight books on the wood panels. In architectural terms, this is called a “uniform load”, lol. Make sure the corners of all your wood panels have an even amount of weight on them. Once the weight is evenly distributed, the books and wood panels should remain in this position for a minimum of 3 days.
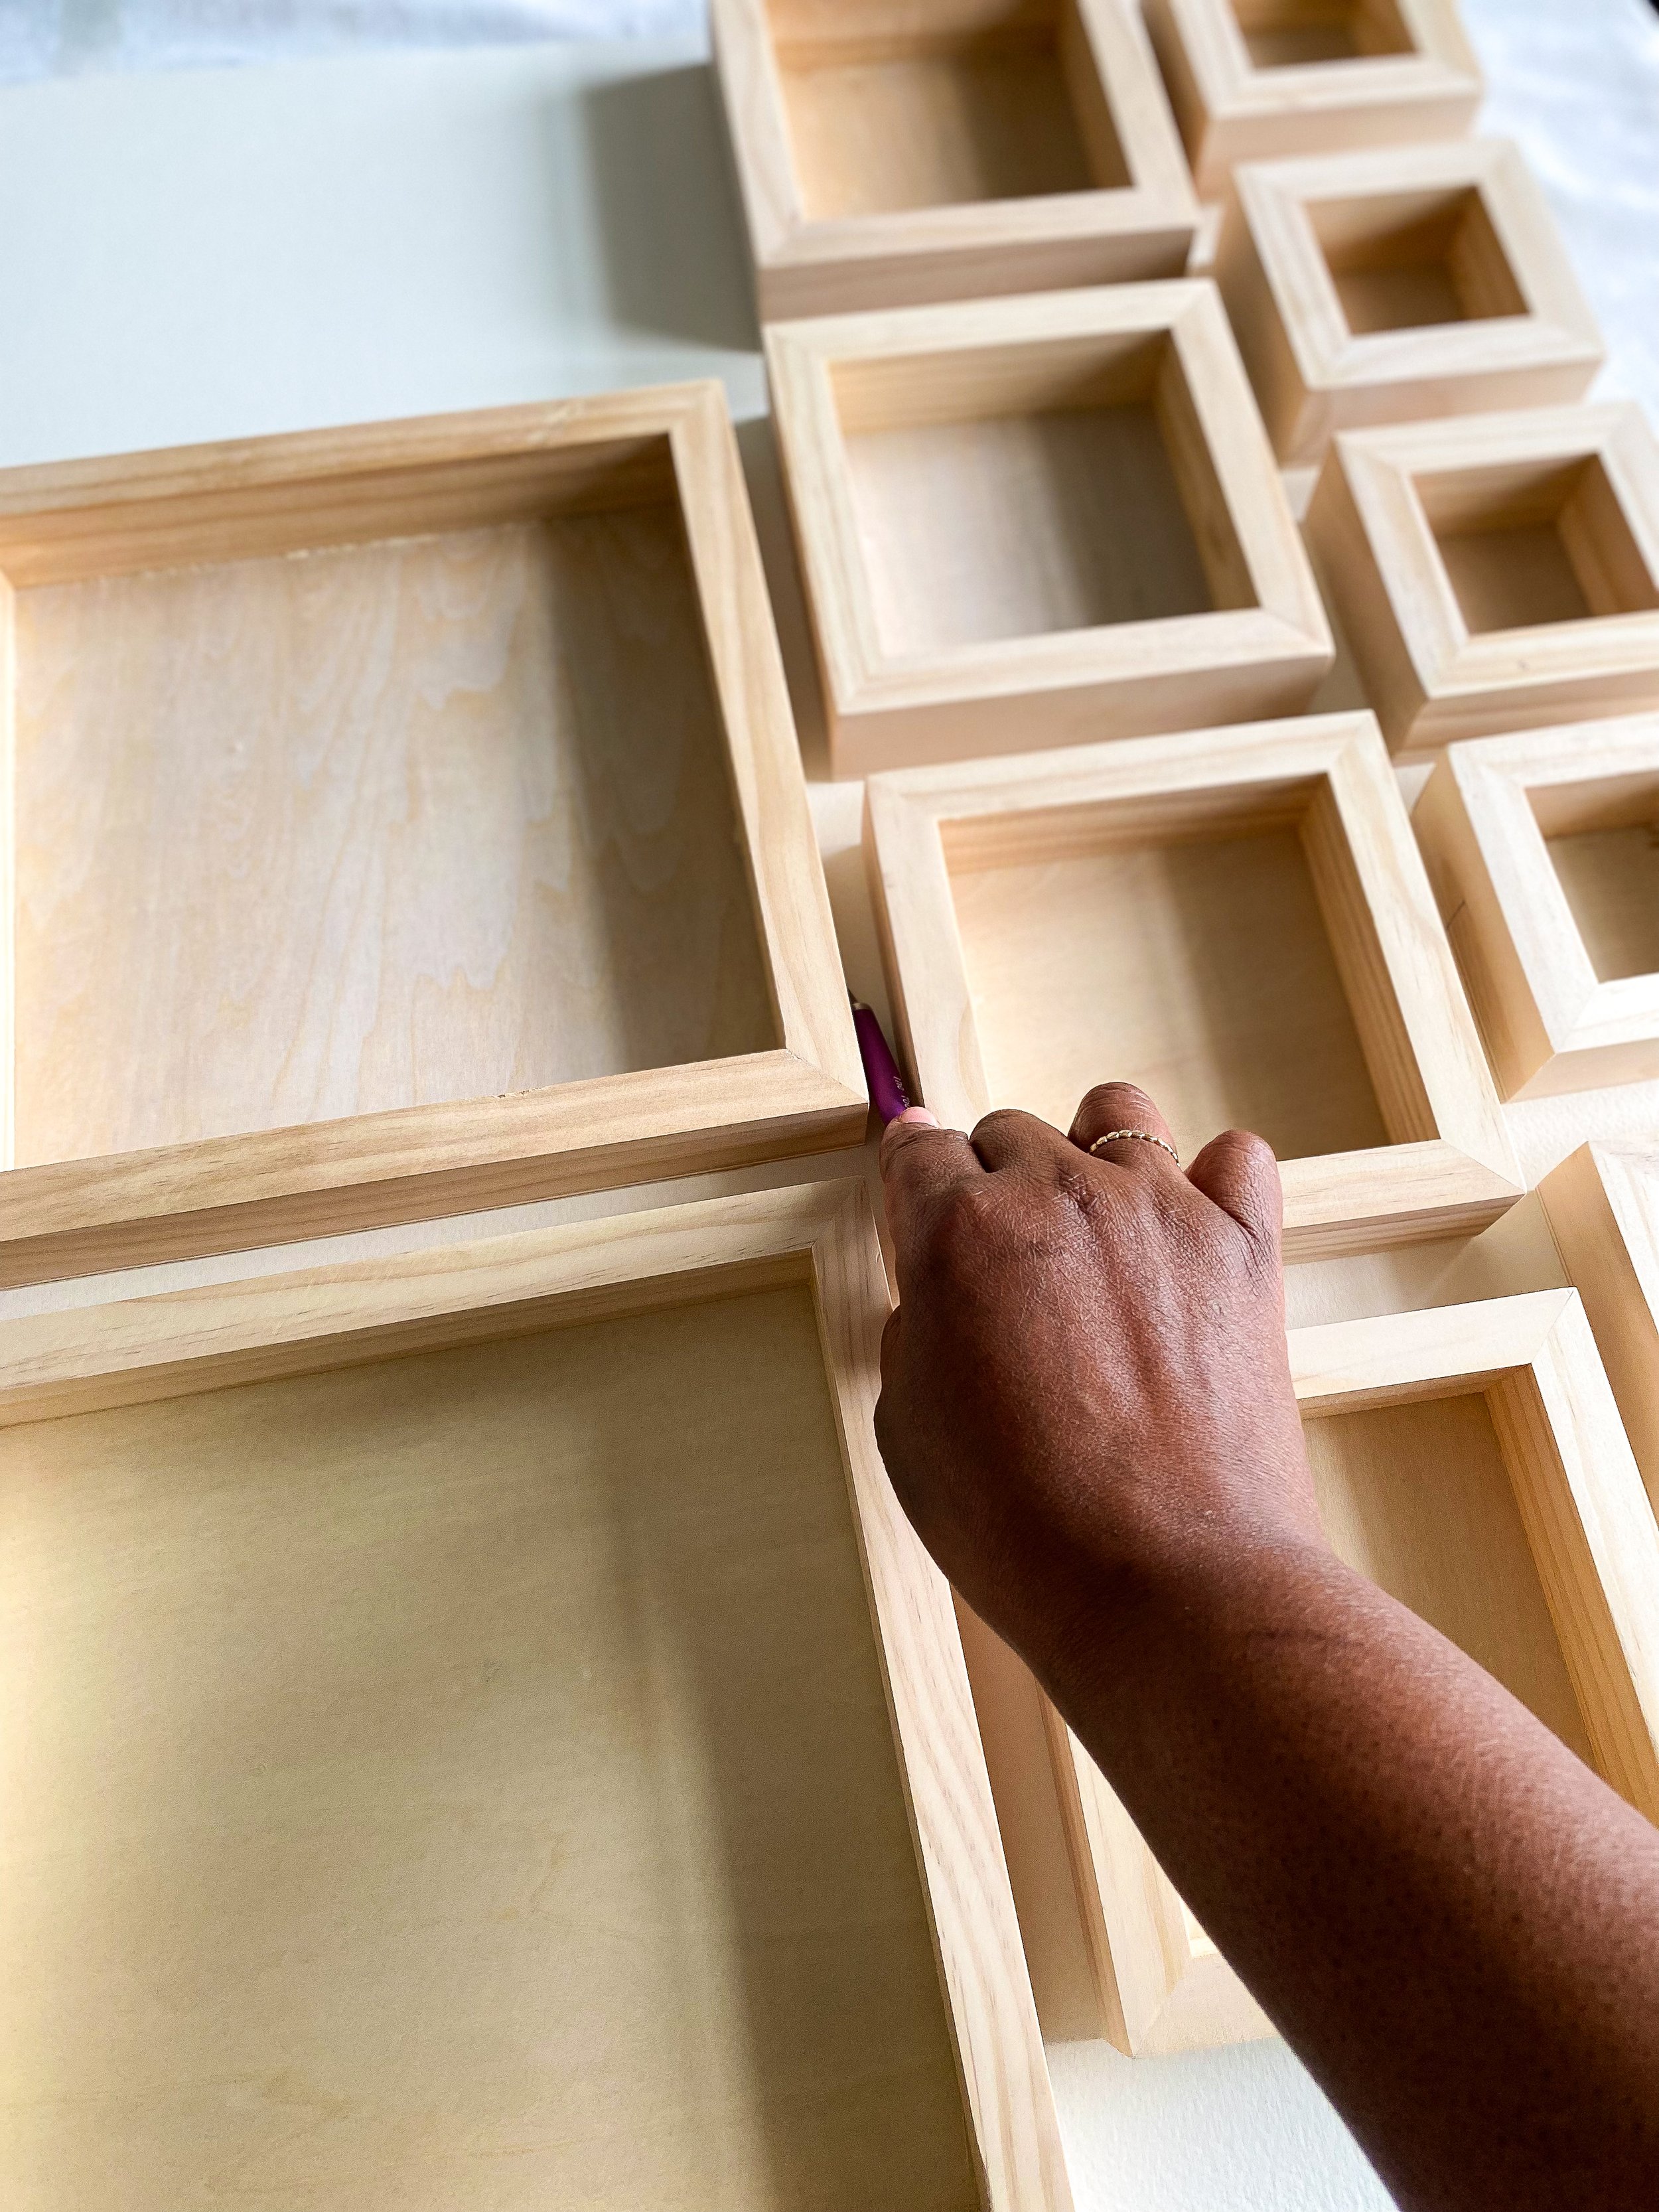
5. Cut the Panels:
After a minimum of 3 days, you are ready to separate the wood panels from the paper and then, more specifically, cut each individual wood panel. First, you’ll want to separate the wood panel from the paper - so with your Xacto knife (make sure your blades are sharp), first do a “rough cut” to separate all the wood panels. Hopefully, you left enough space between each panel for the knife to cut.
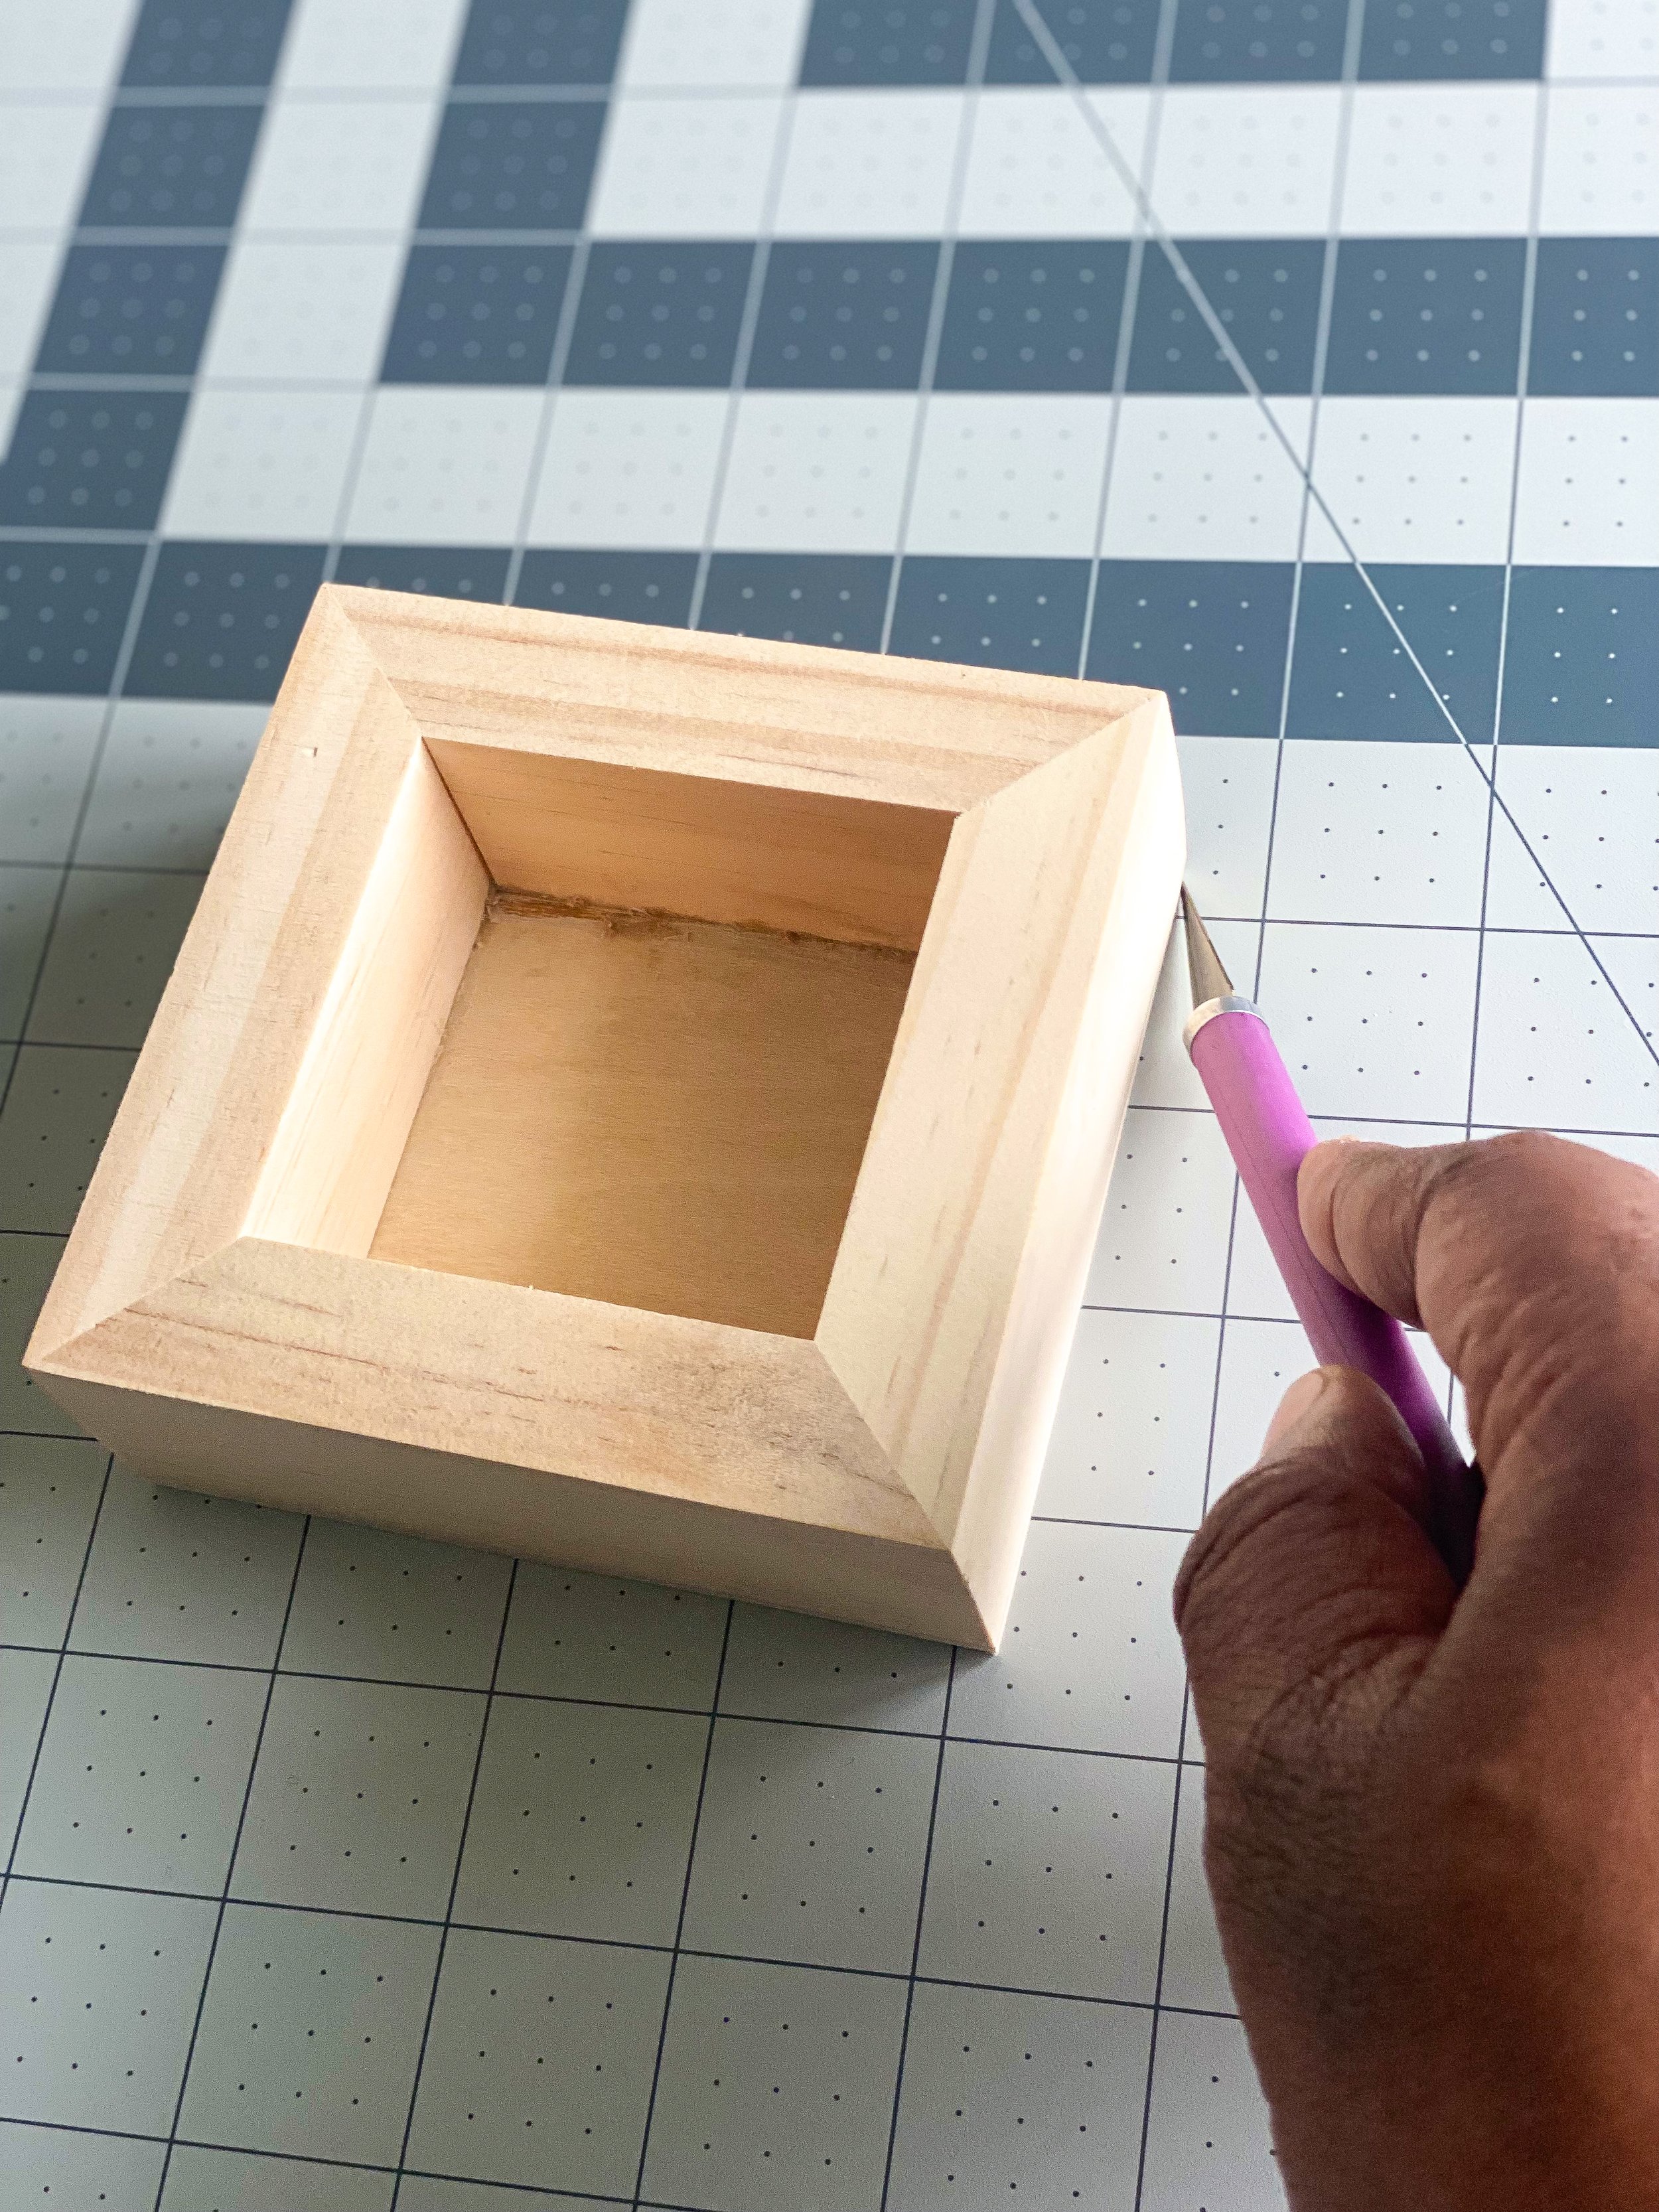
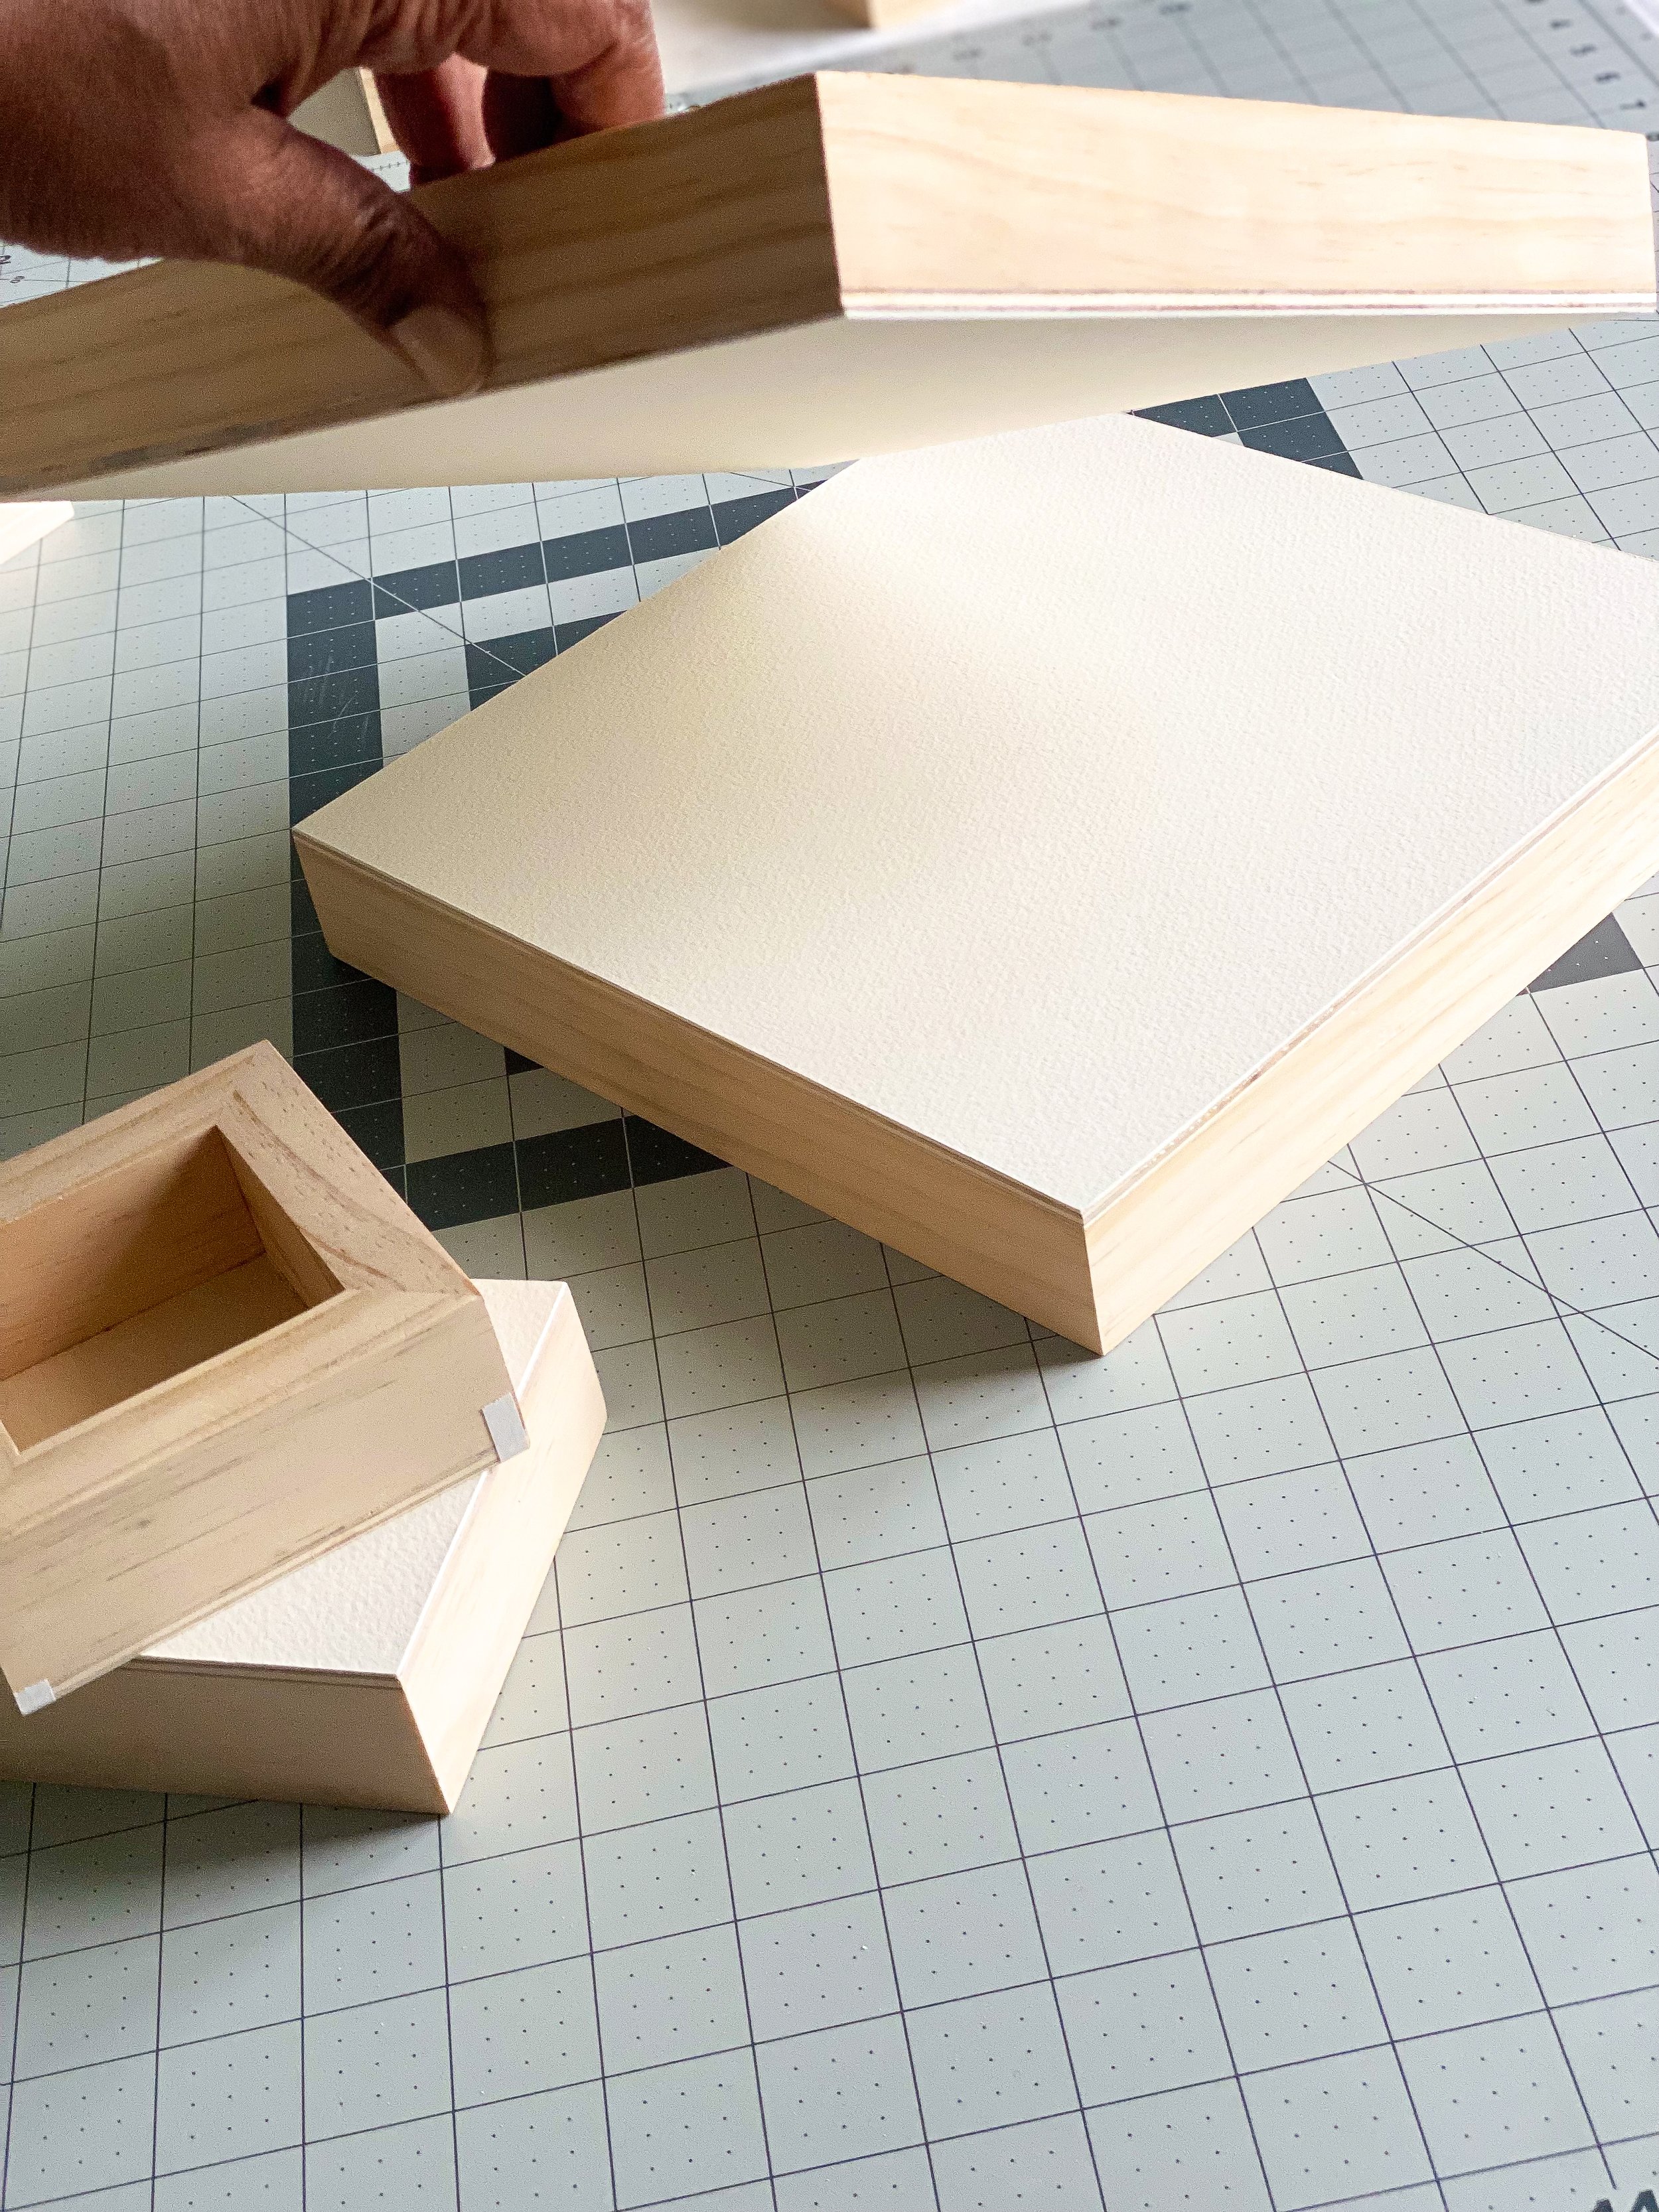
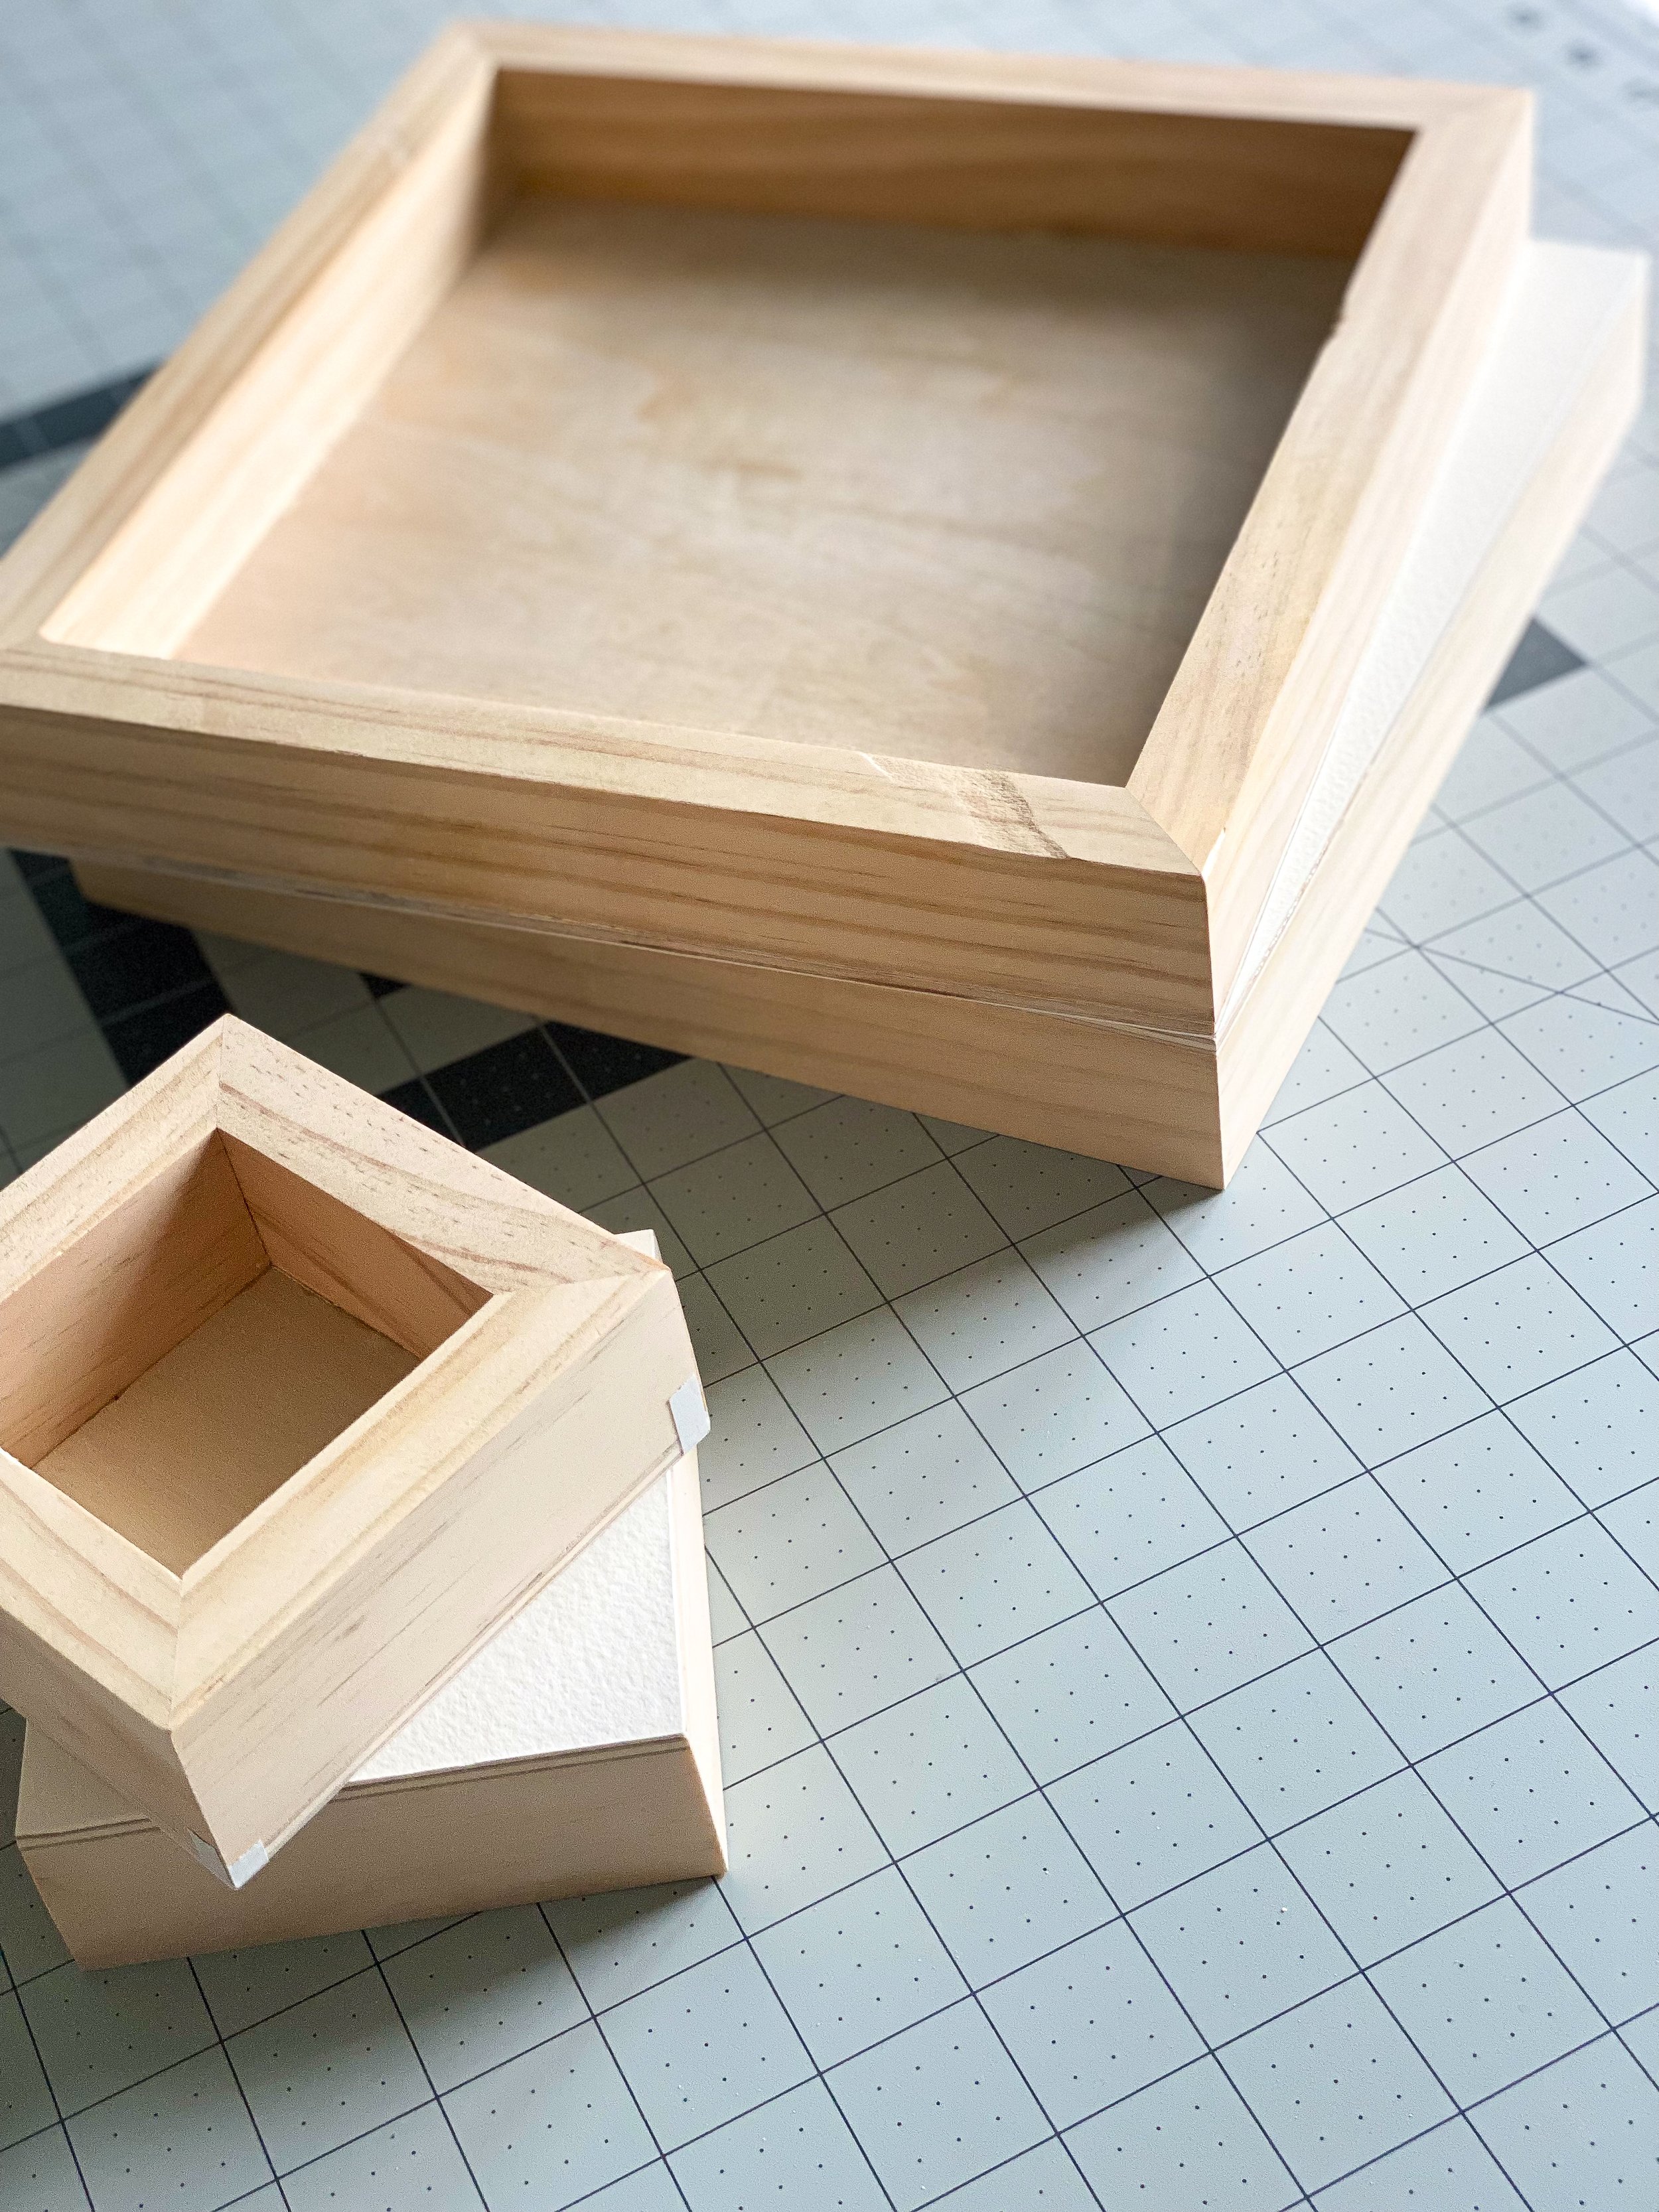
6. Cutting the Excess Paper off of your Wood Panels:
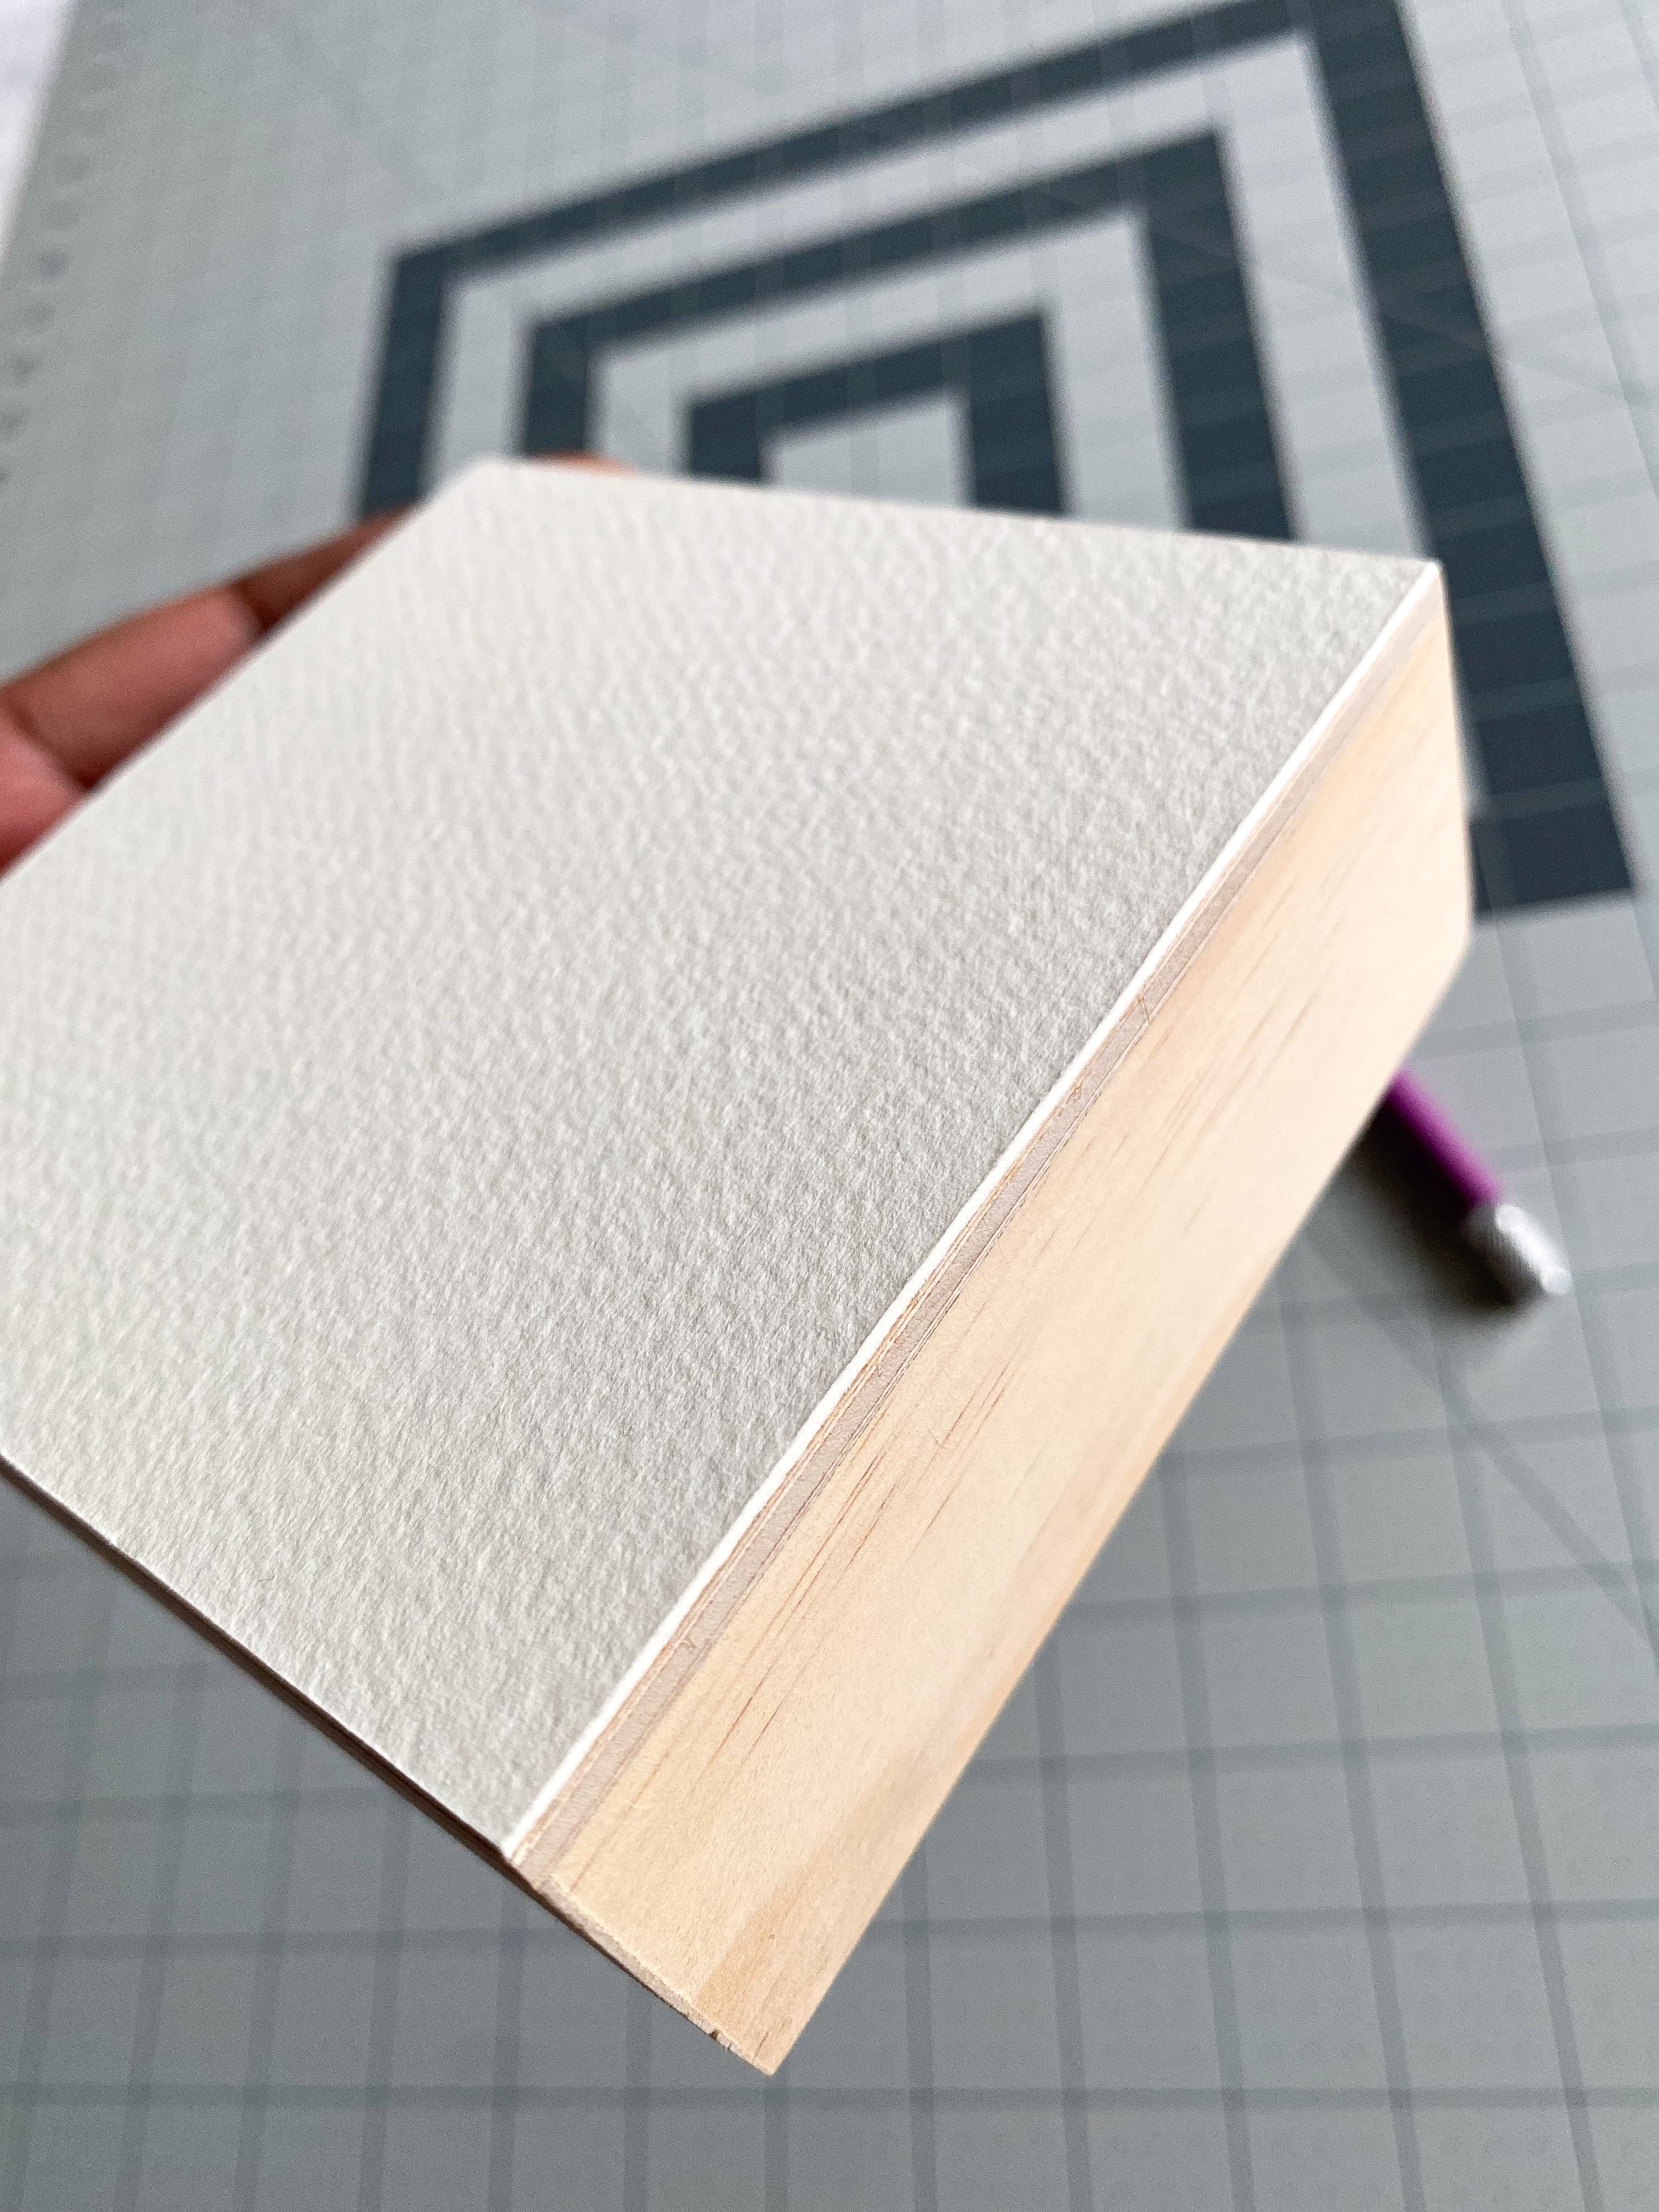
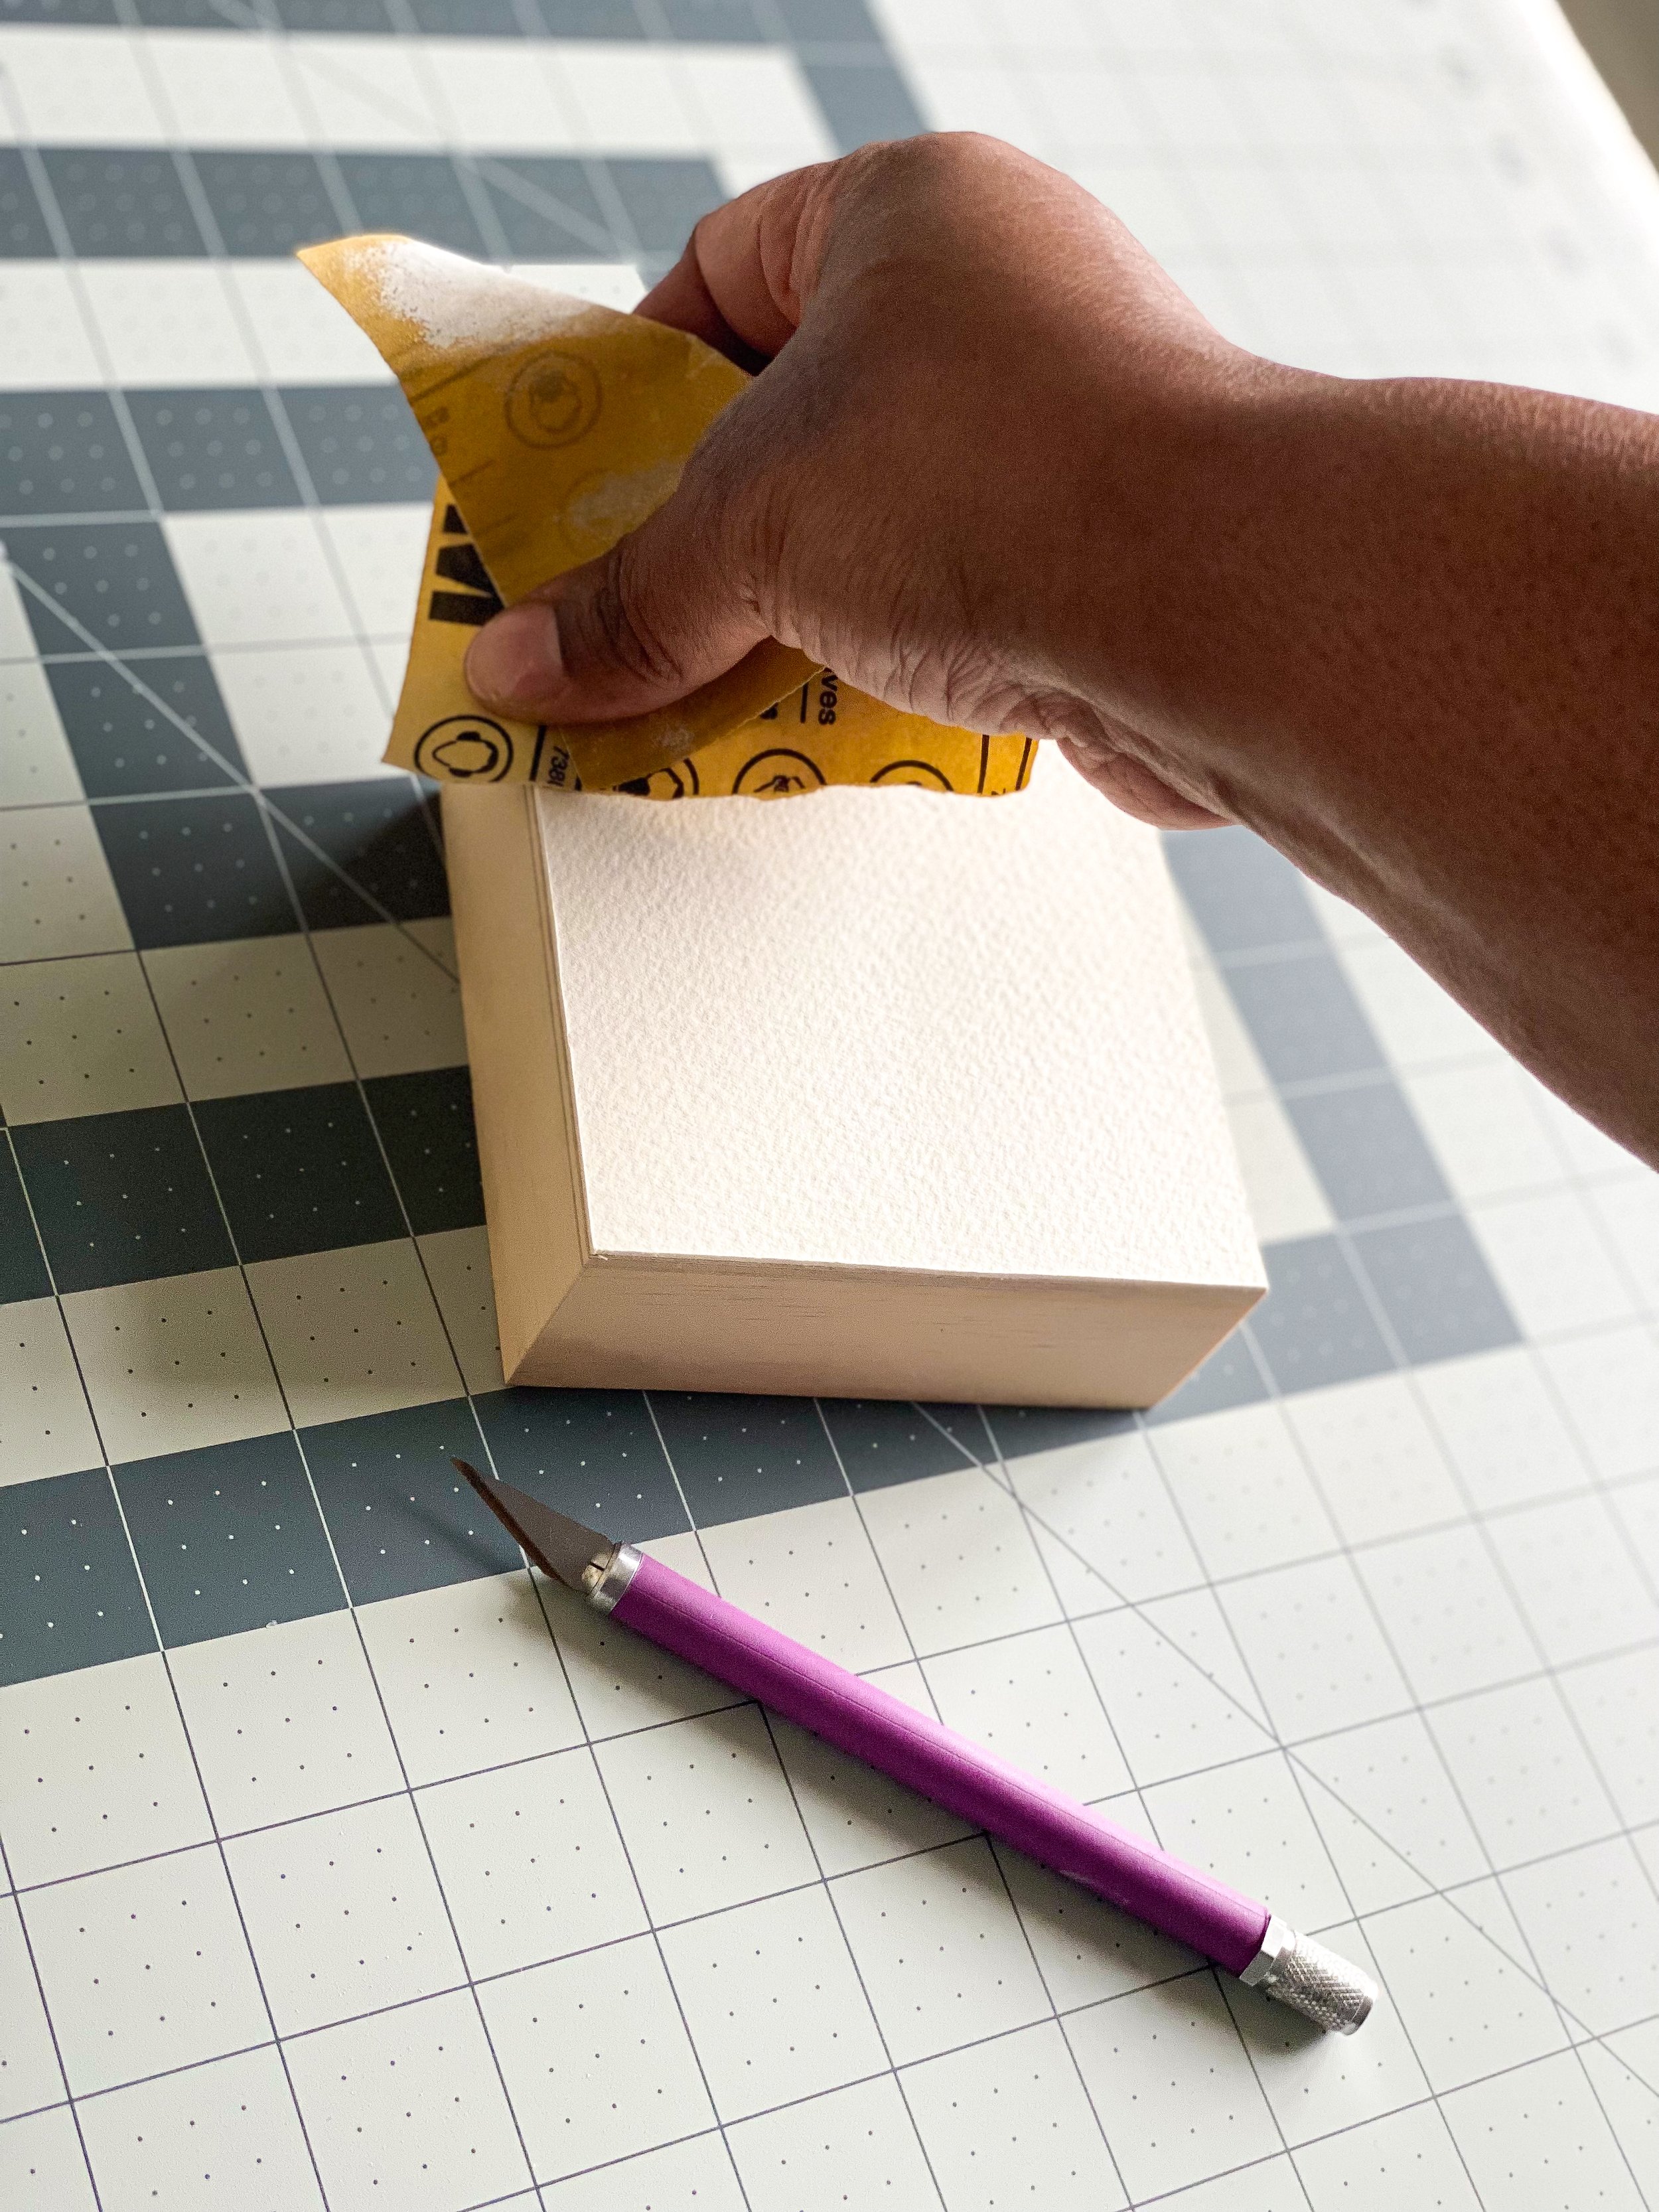
With your wood panel resting on a clean cutting mat, and with a new, sharp Xacto blade, you will cut. With one hand steadily applying pressure to the panel and the other holding the Xacto knife, angle your hand at about a 45-degree angle to cut the excess paper off the wood panel. If you find there are places with excess glue, be careful to not let the knife skip and cut unevenly. If you have some “scratchy” edges, you can clean them up by lightly sanding them with fine gauge sandpaper.
Note: If you are not used to using an Xacto knife…practice. With a fresh, sharp blade it is not necessary to apply a lot of pressure for the paper to be cut easily. With a steady and even pressure - the excess should come off cleanly.
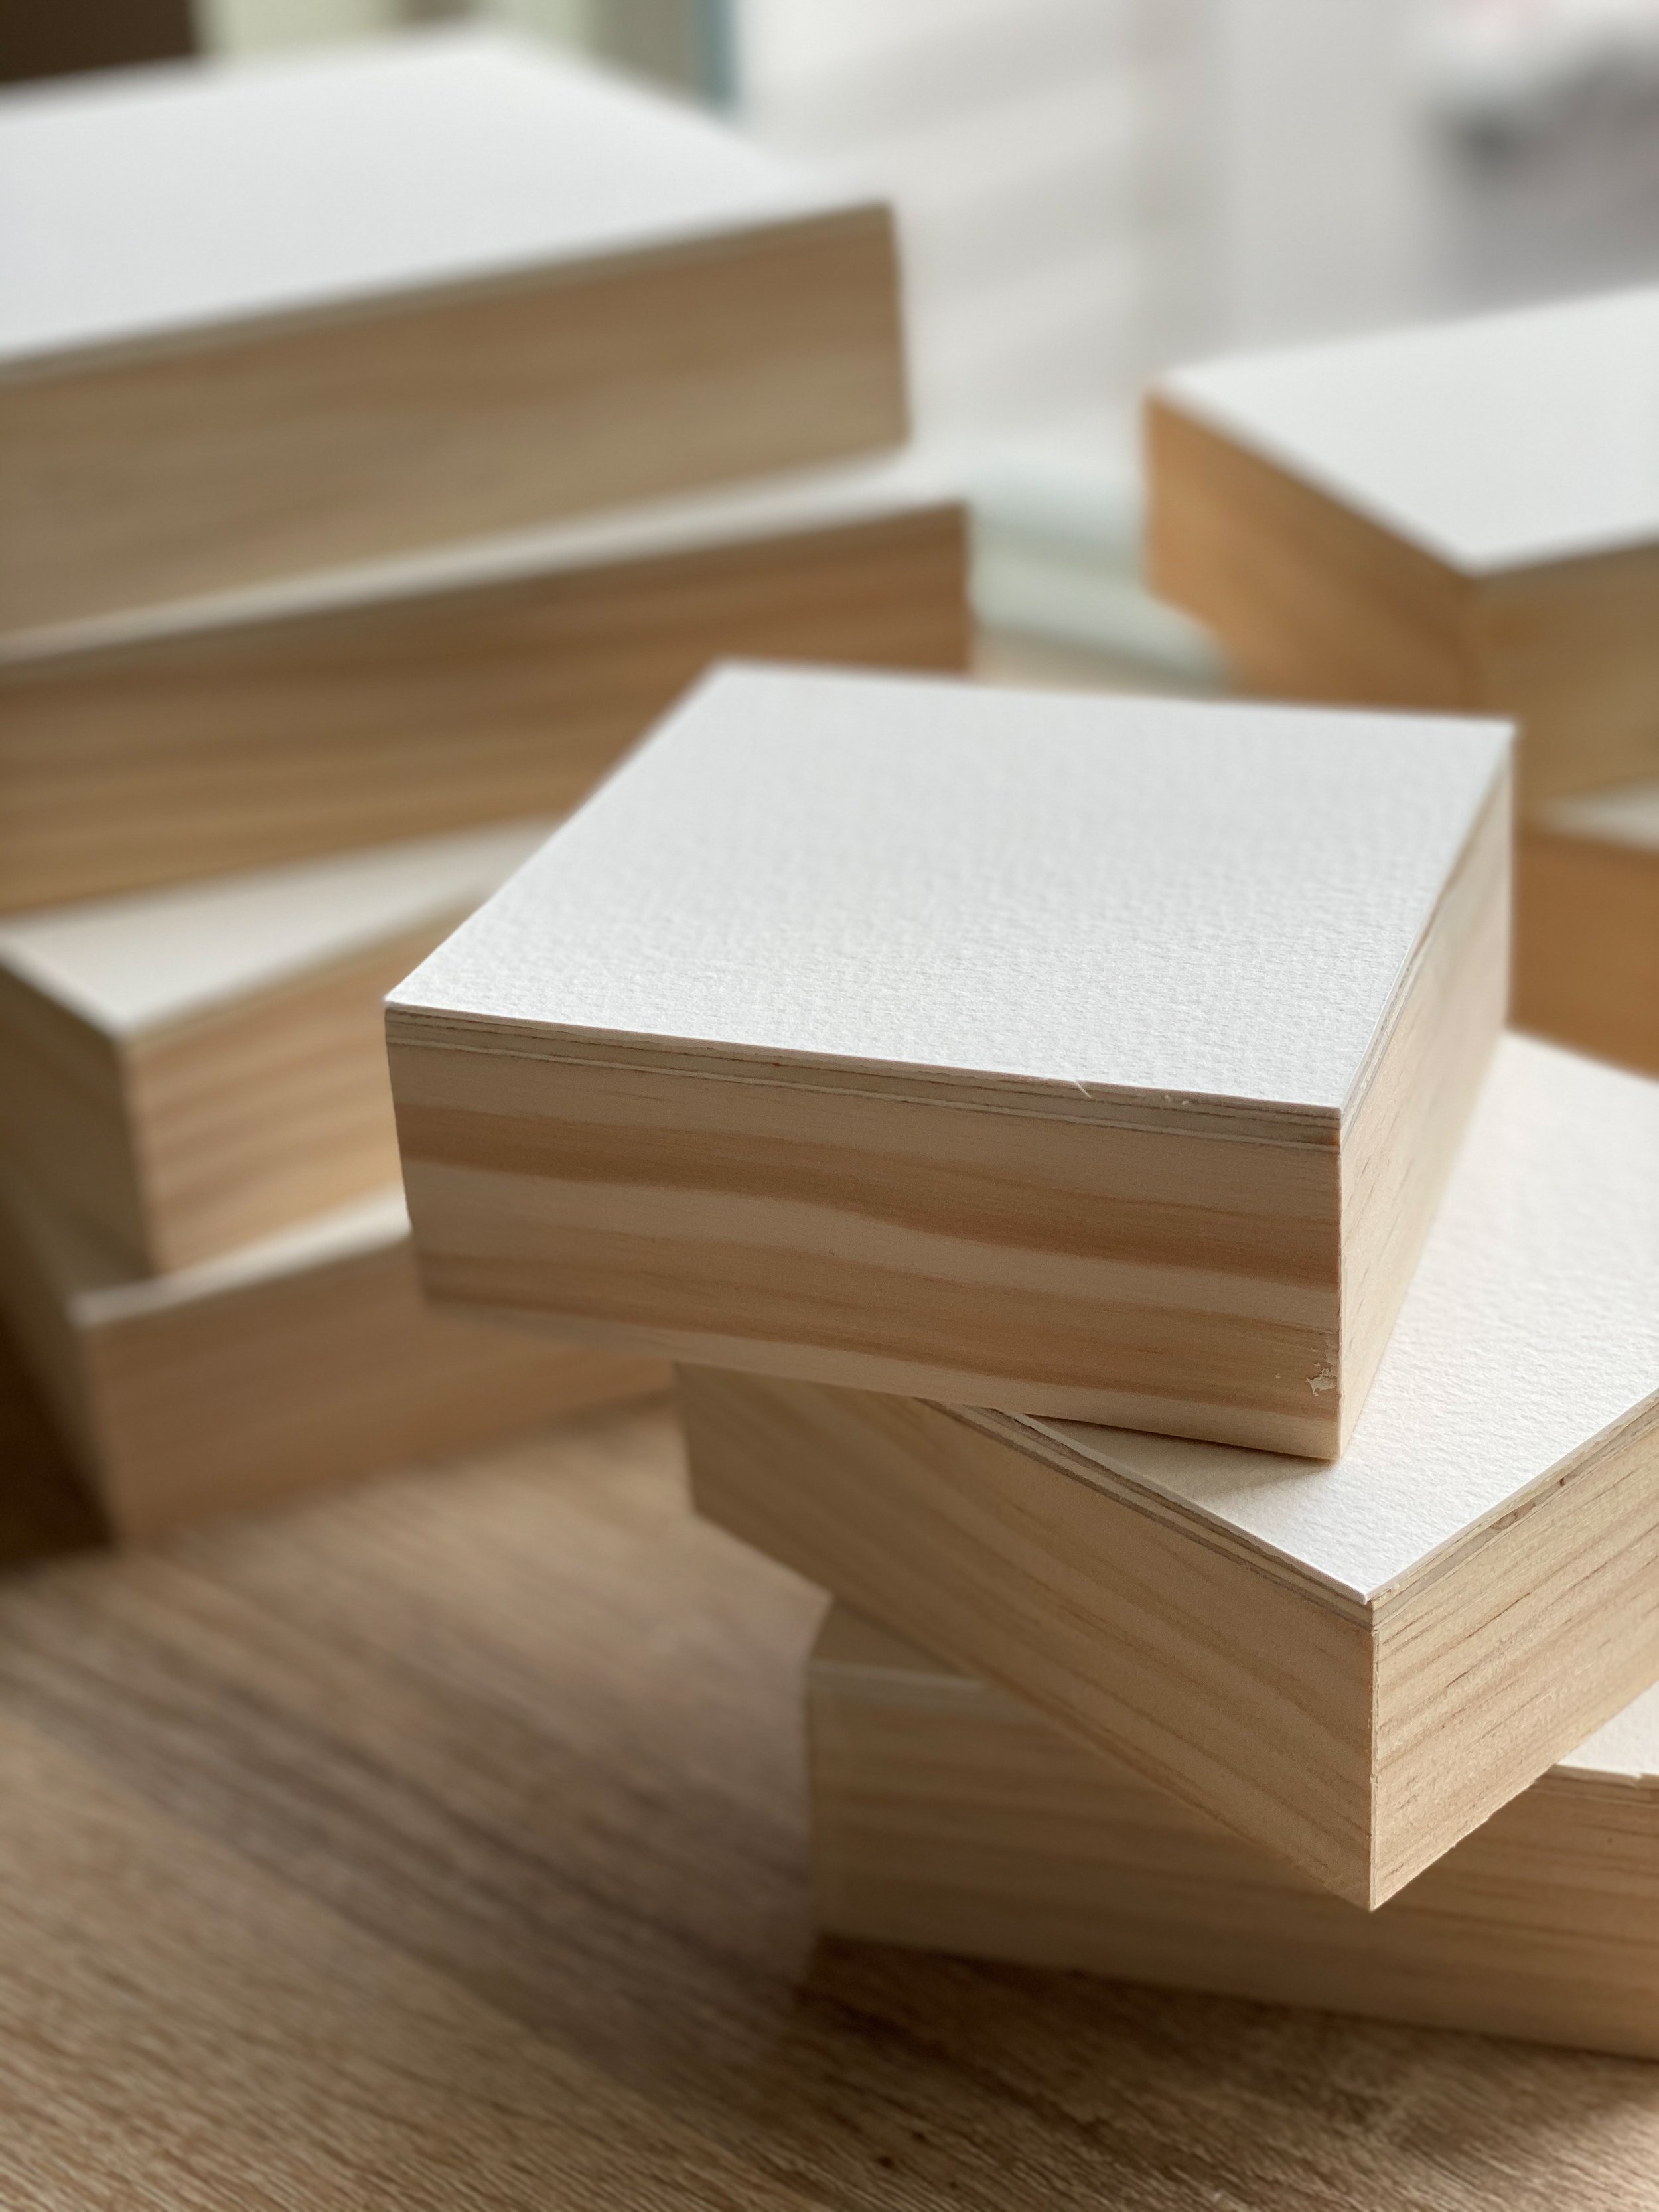
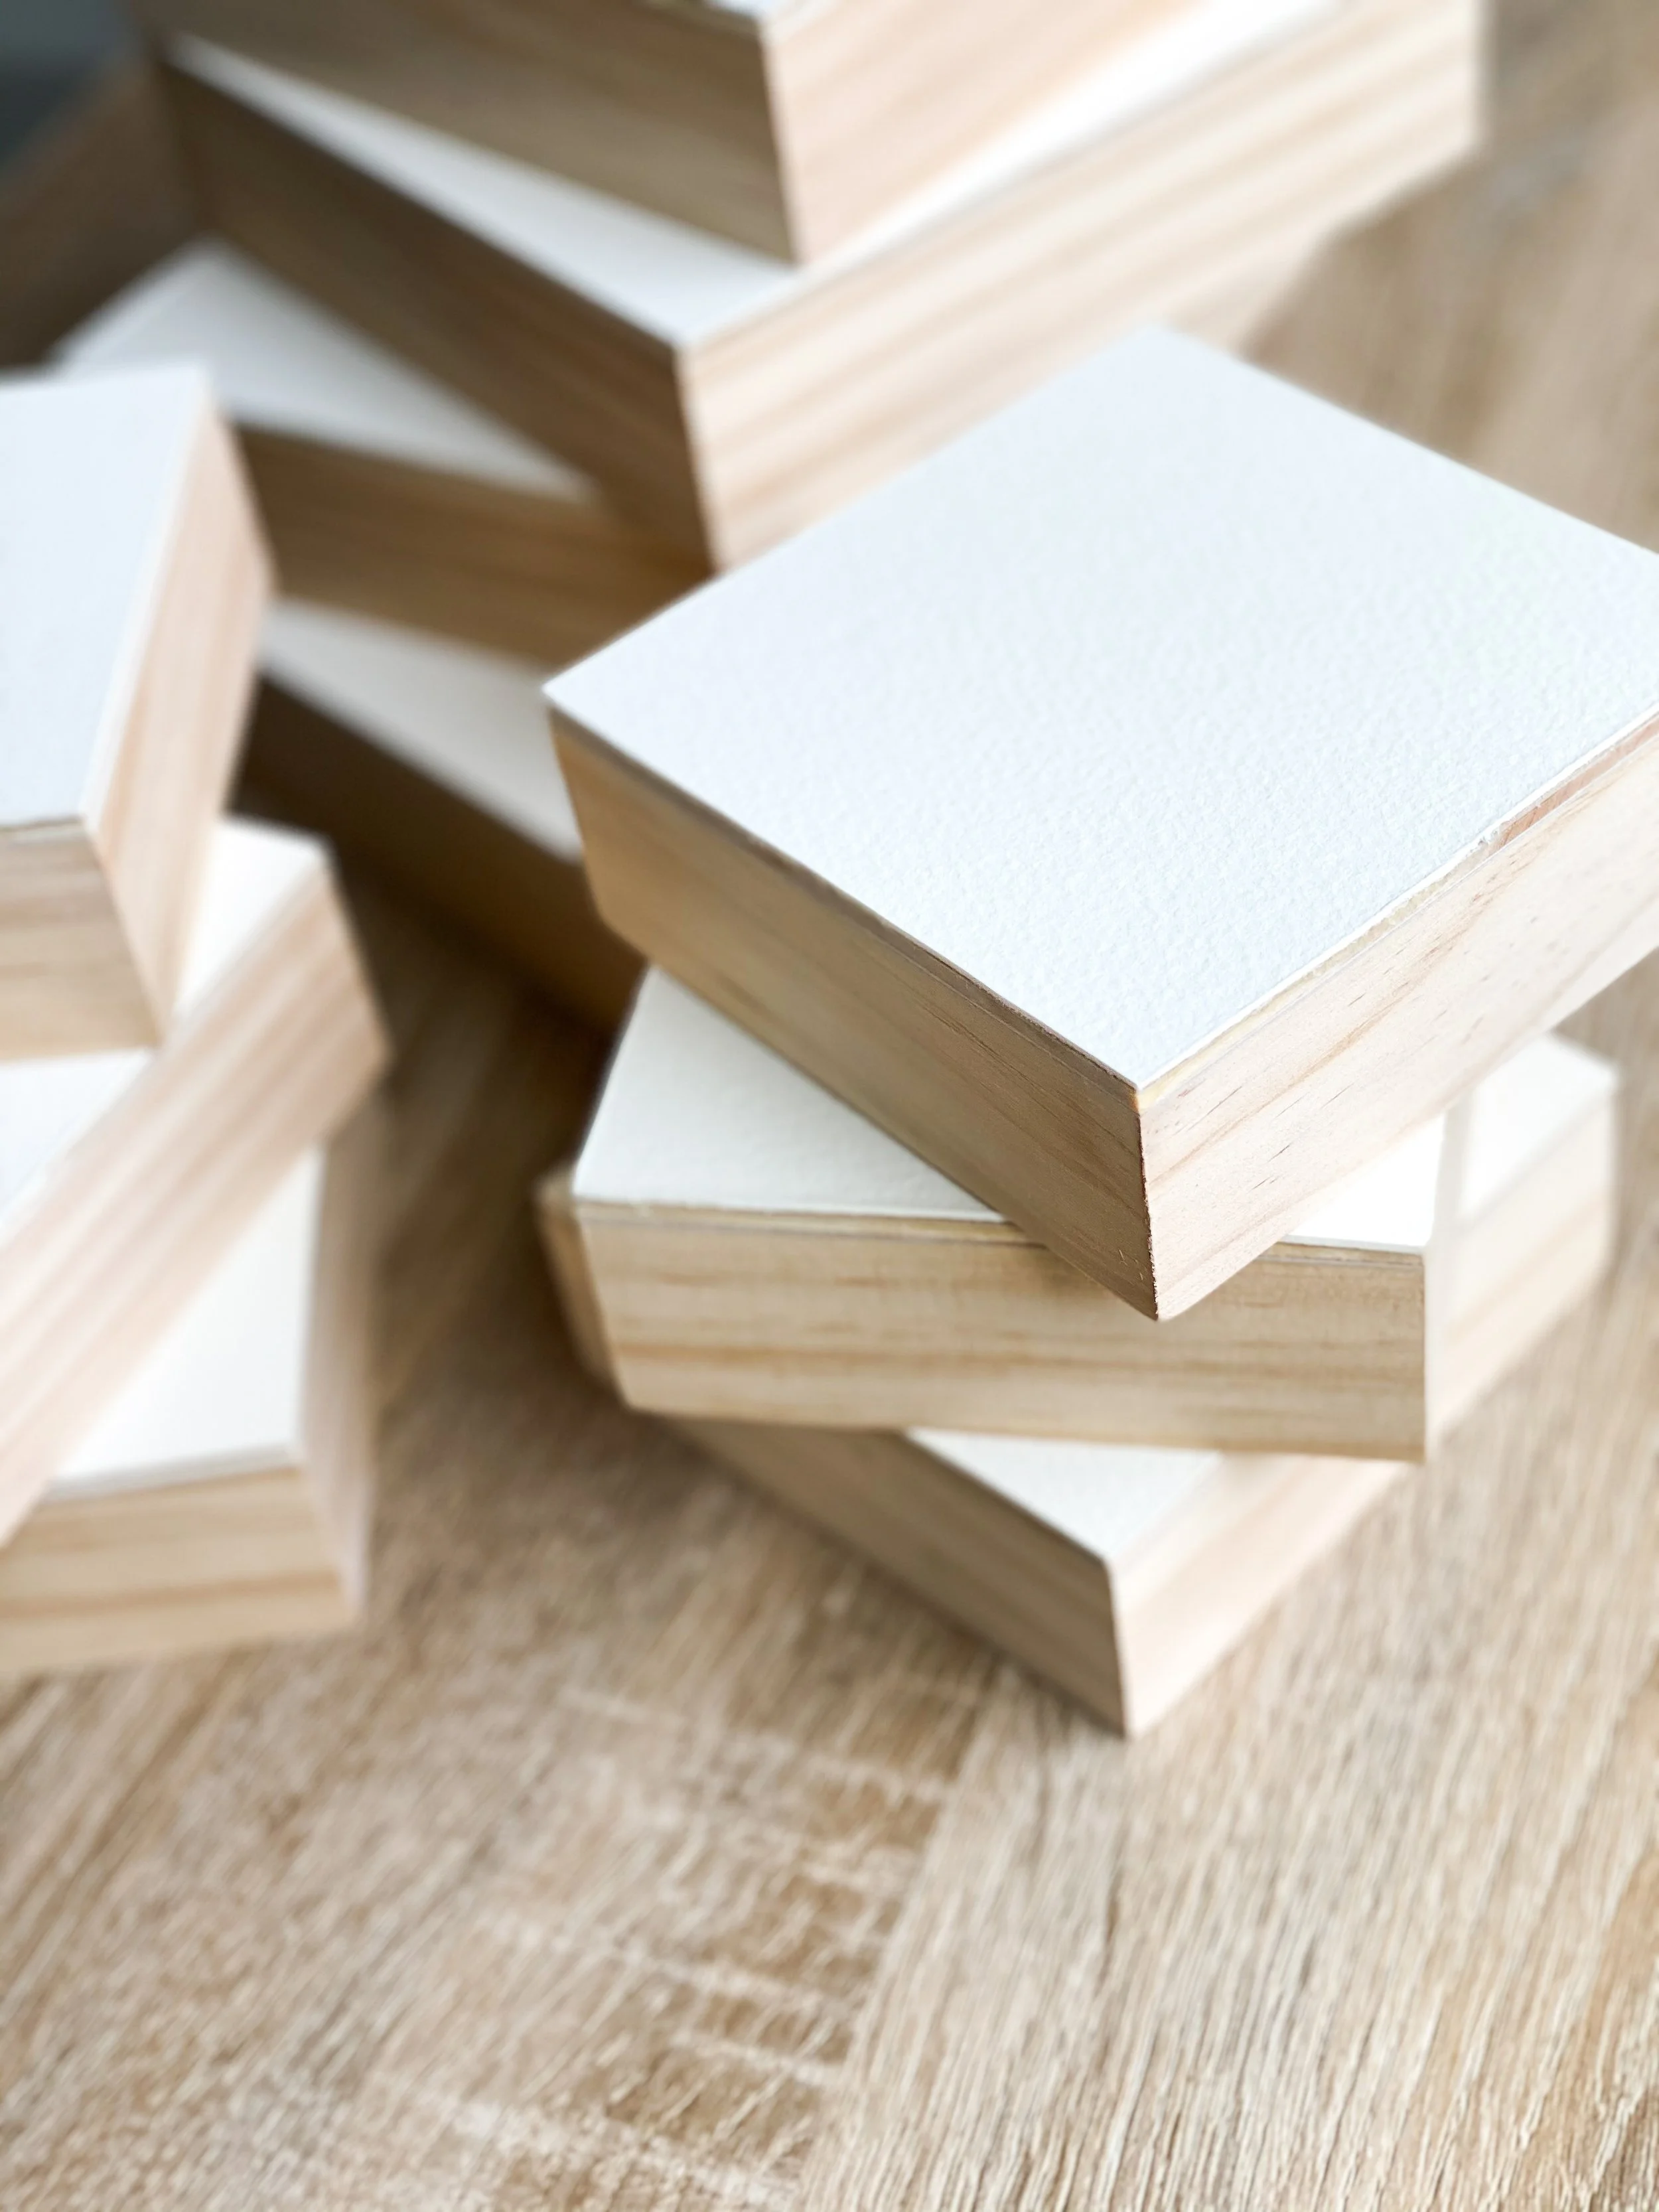
7. Storing your Wood Panels:
Do a happy dance! You did it!
Now that you have cut all of your wood panels beautifully, you’ll want to store them until you are ready to paint. I like to store my cut and prepped panels by placing the watercolor paper sides face-to-face and then wrapping them together in gift tissue paper, then placing them in my studio on a shelf.
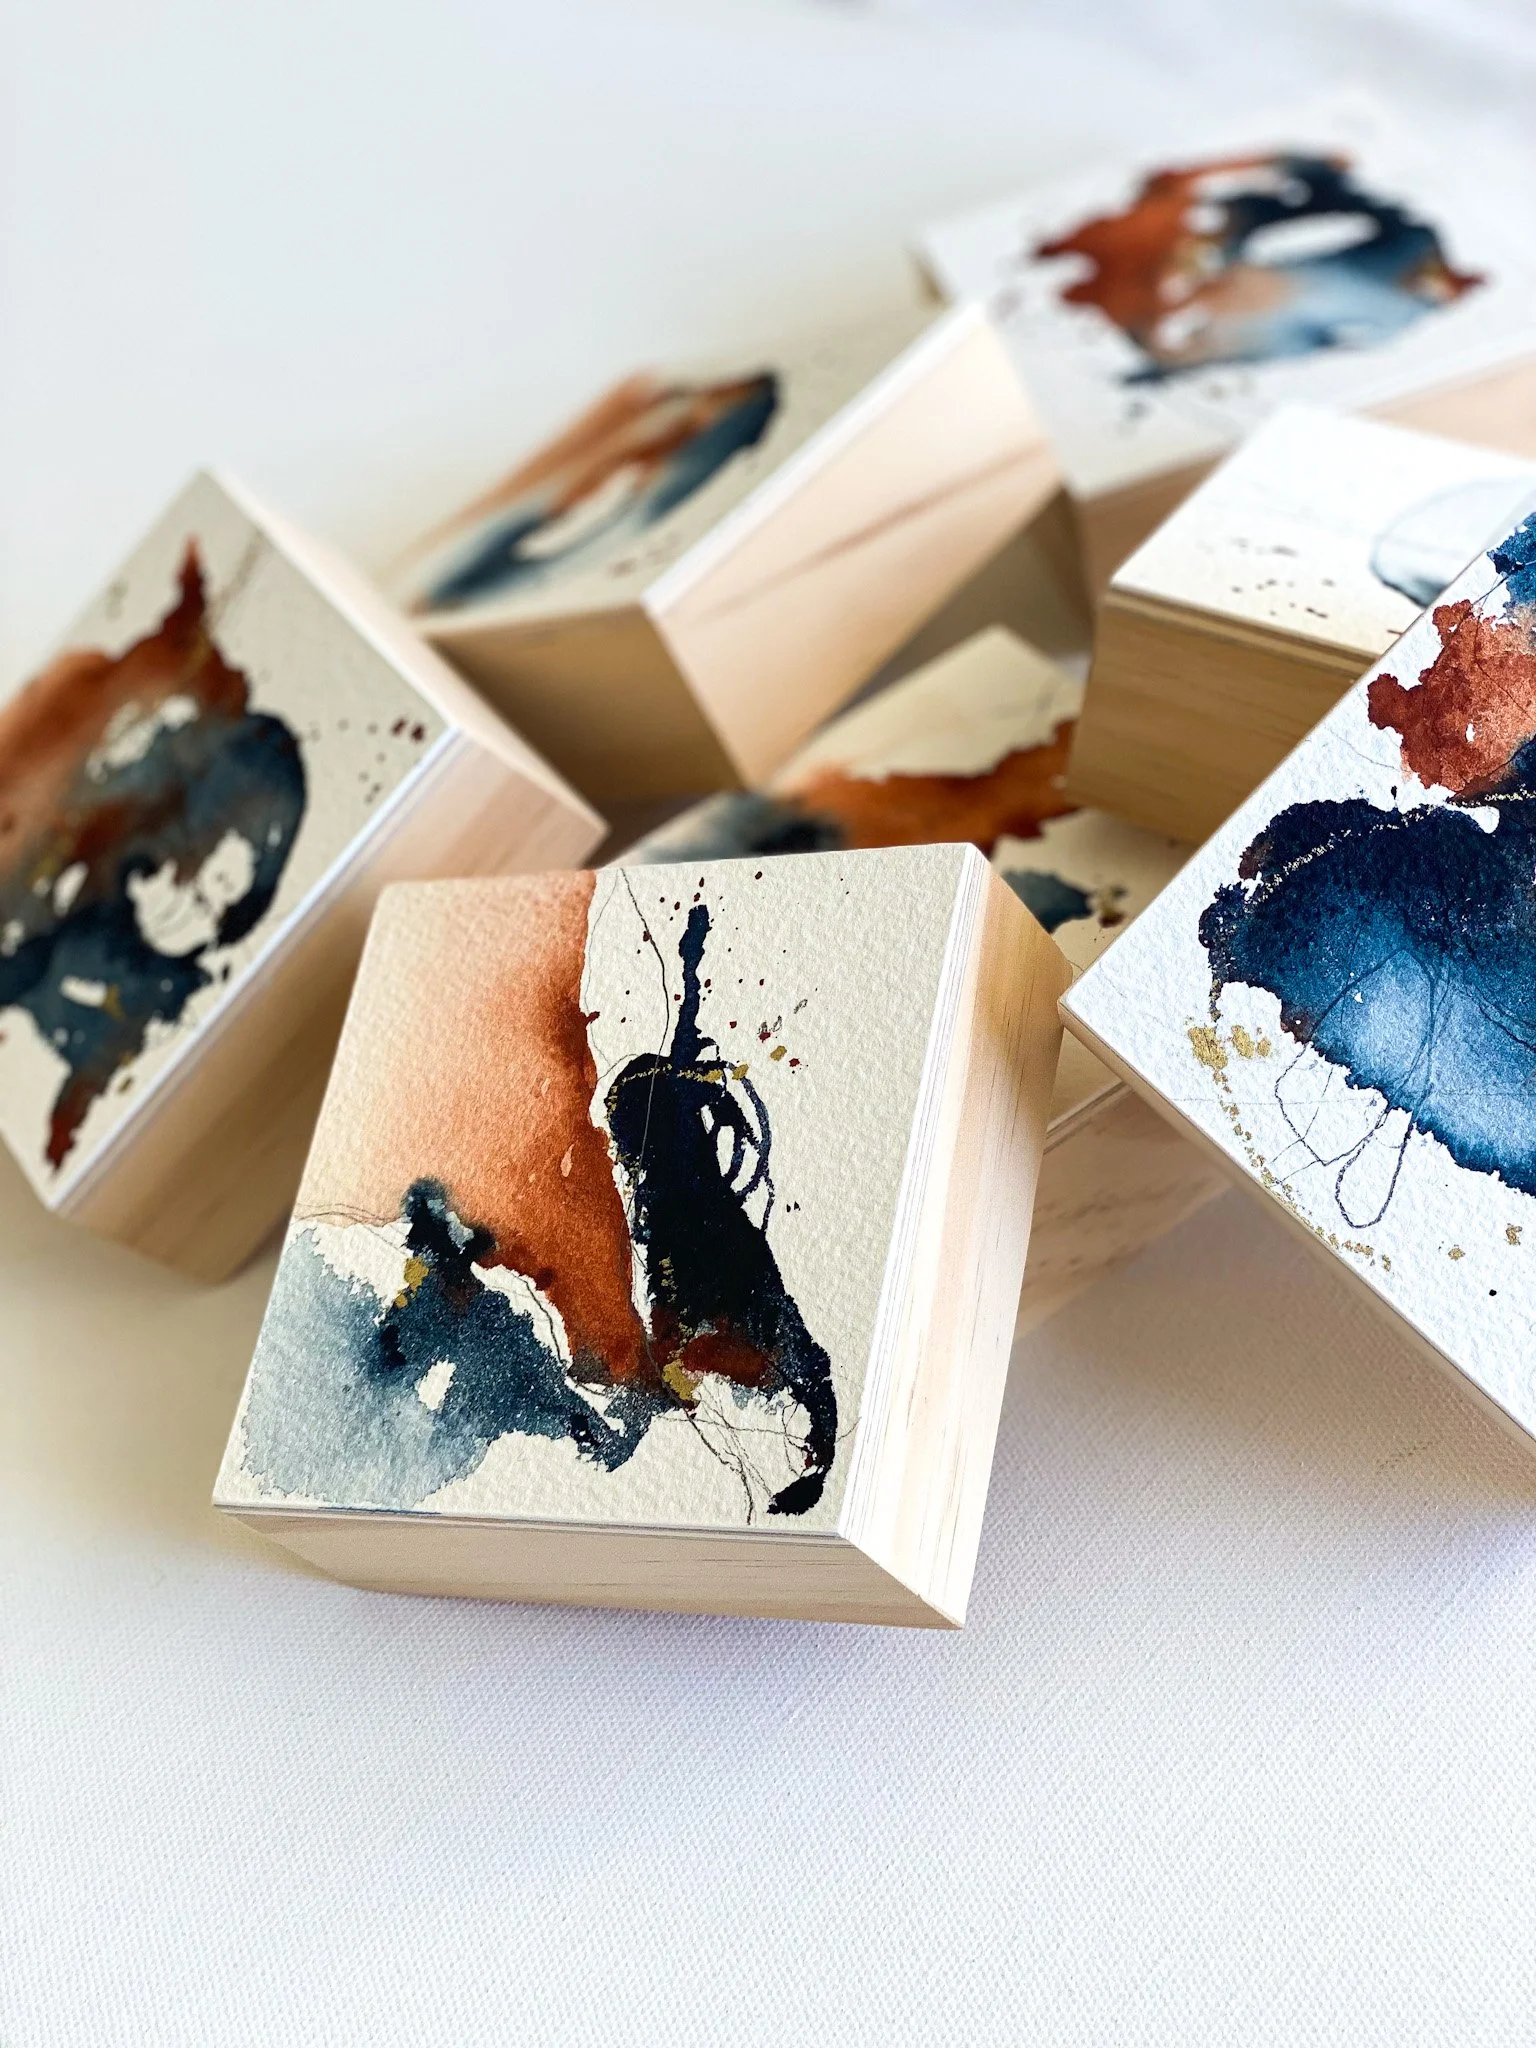
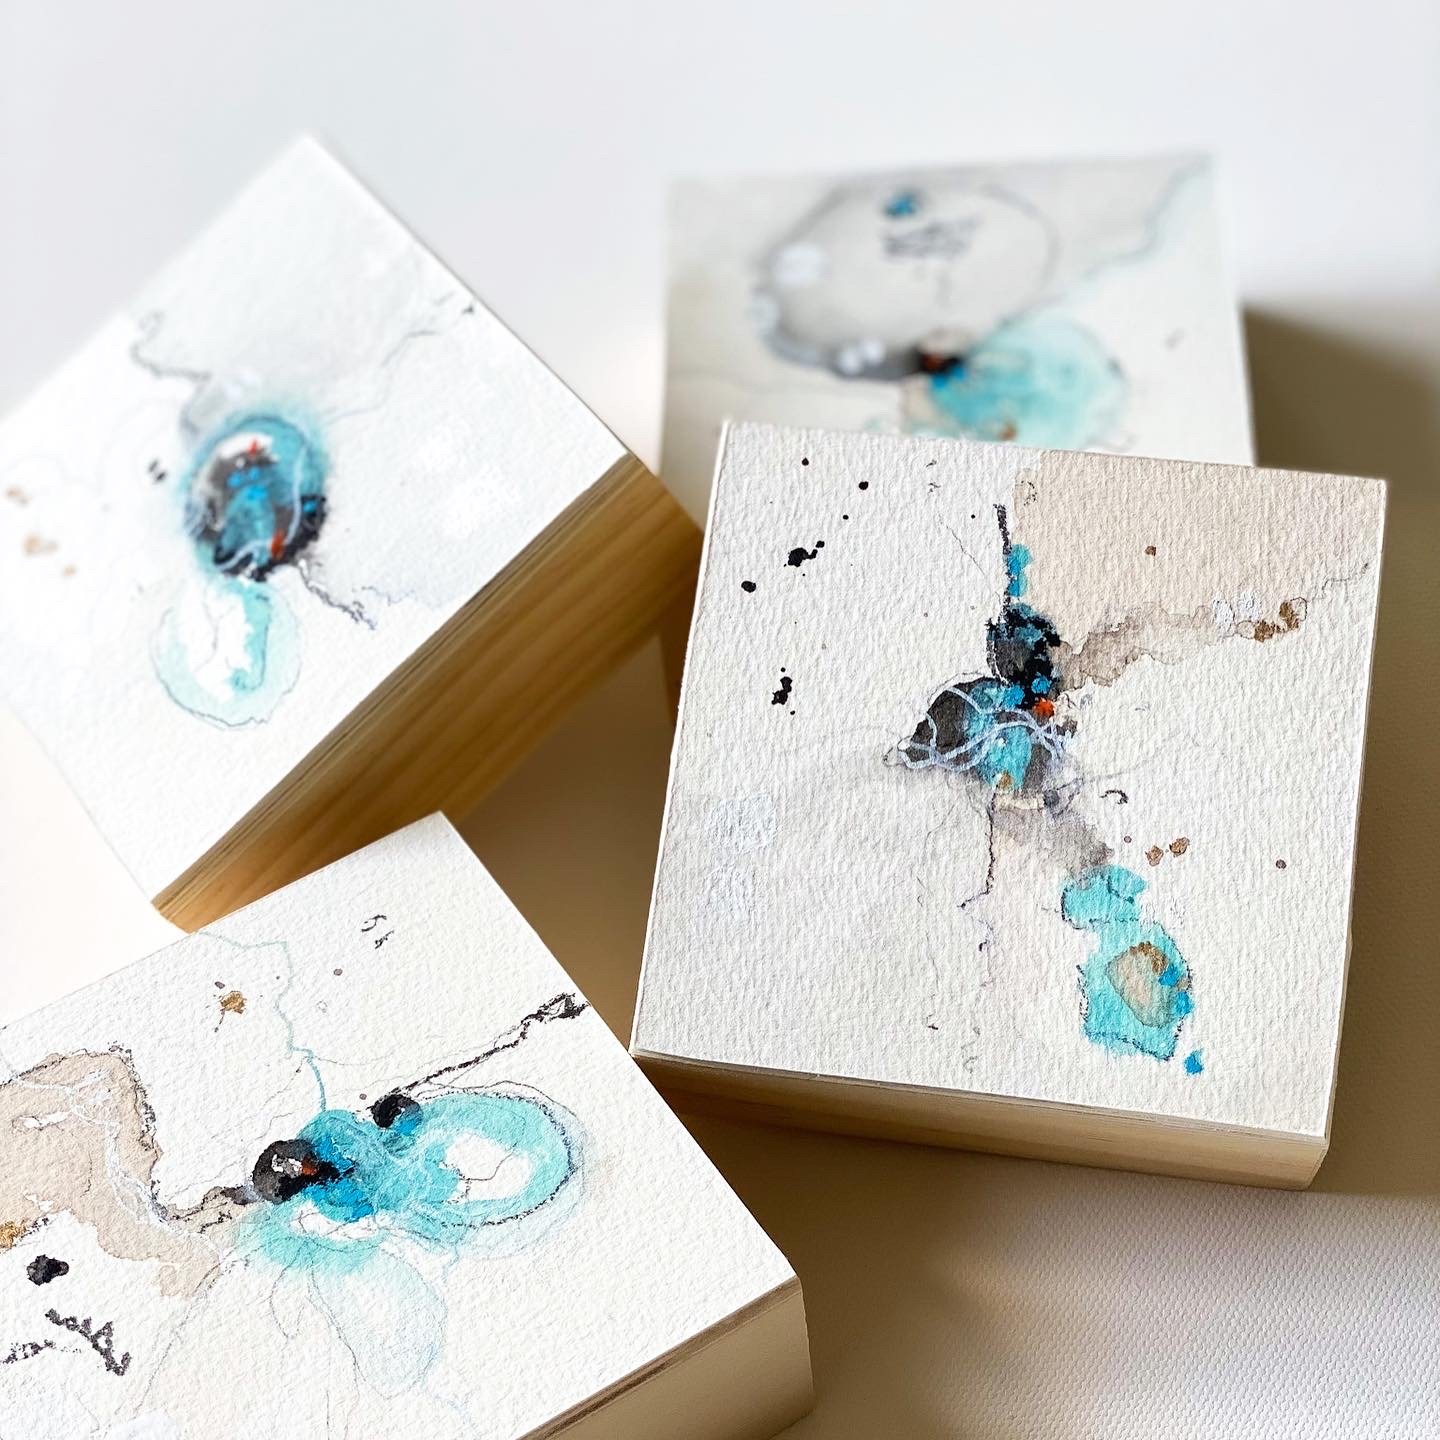
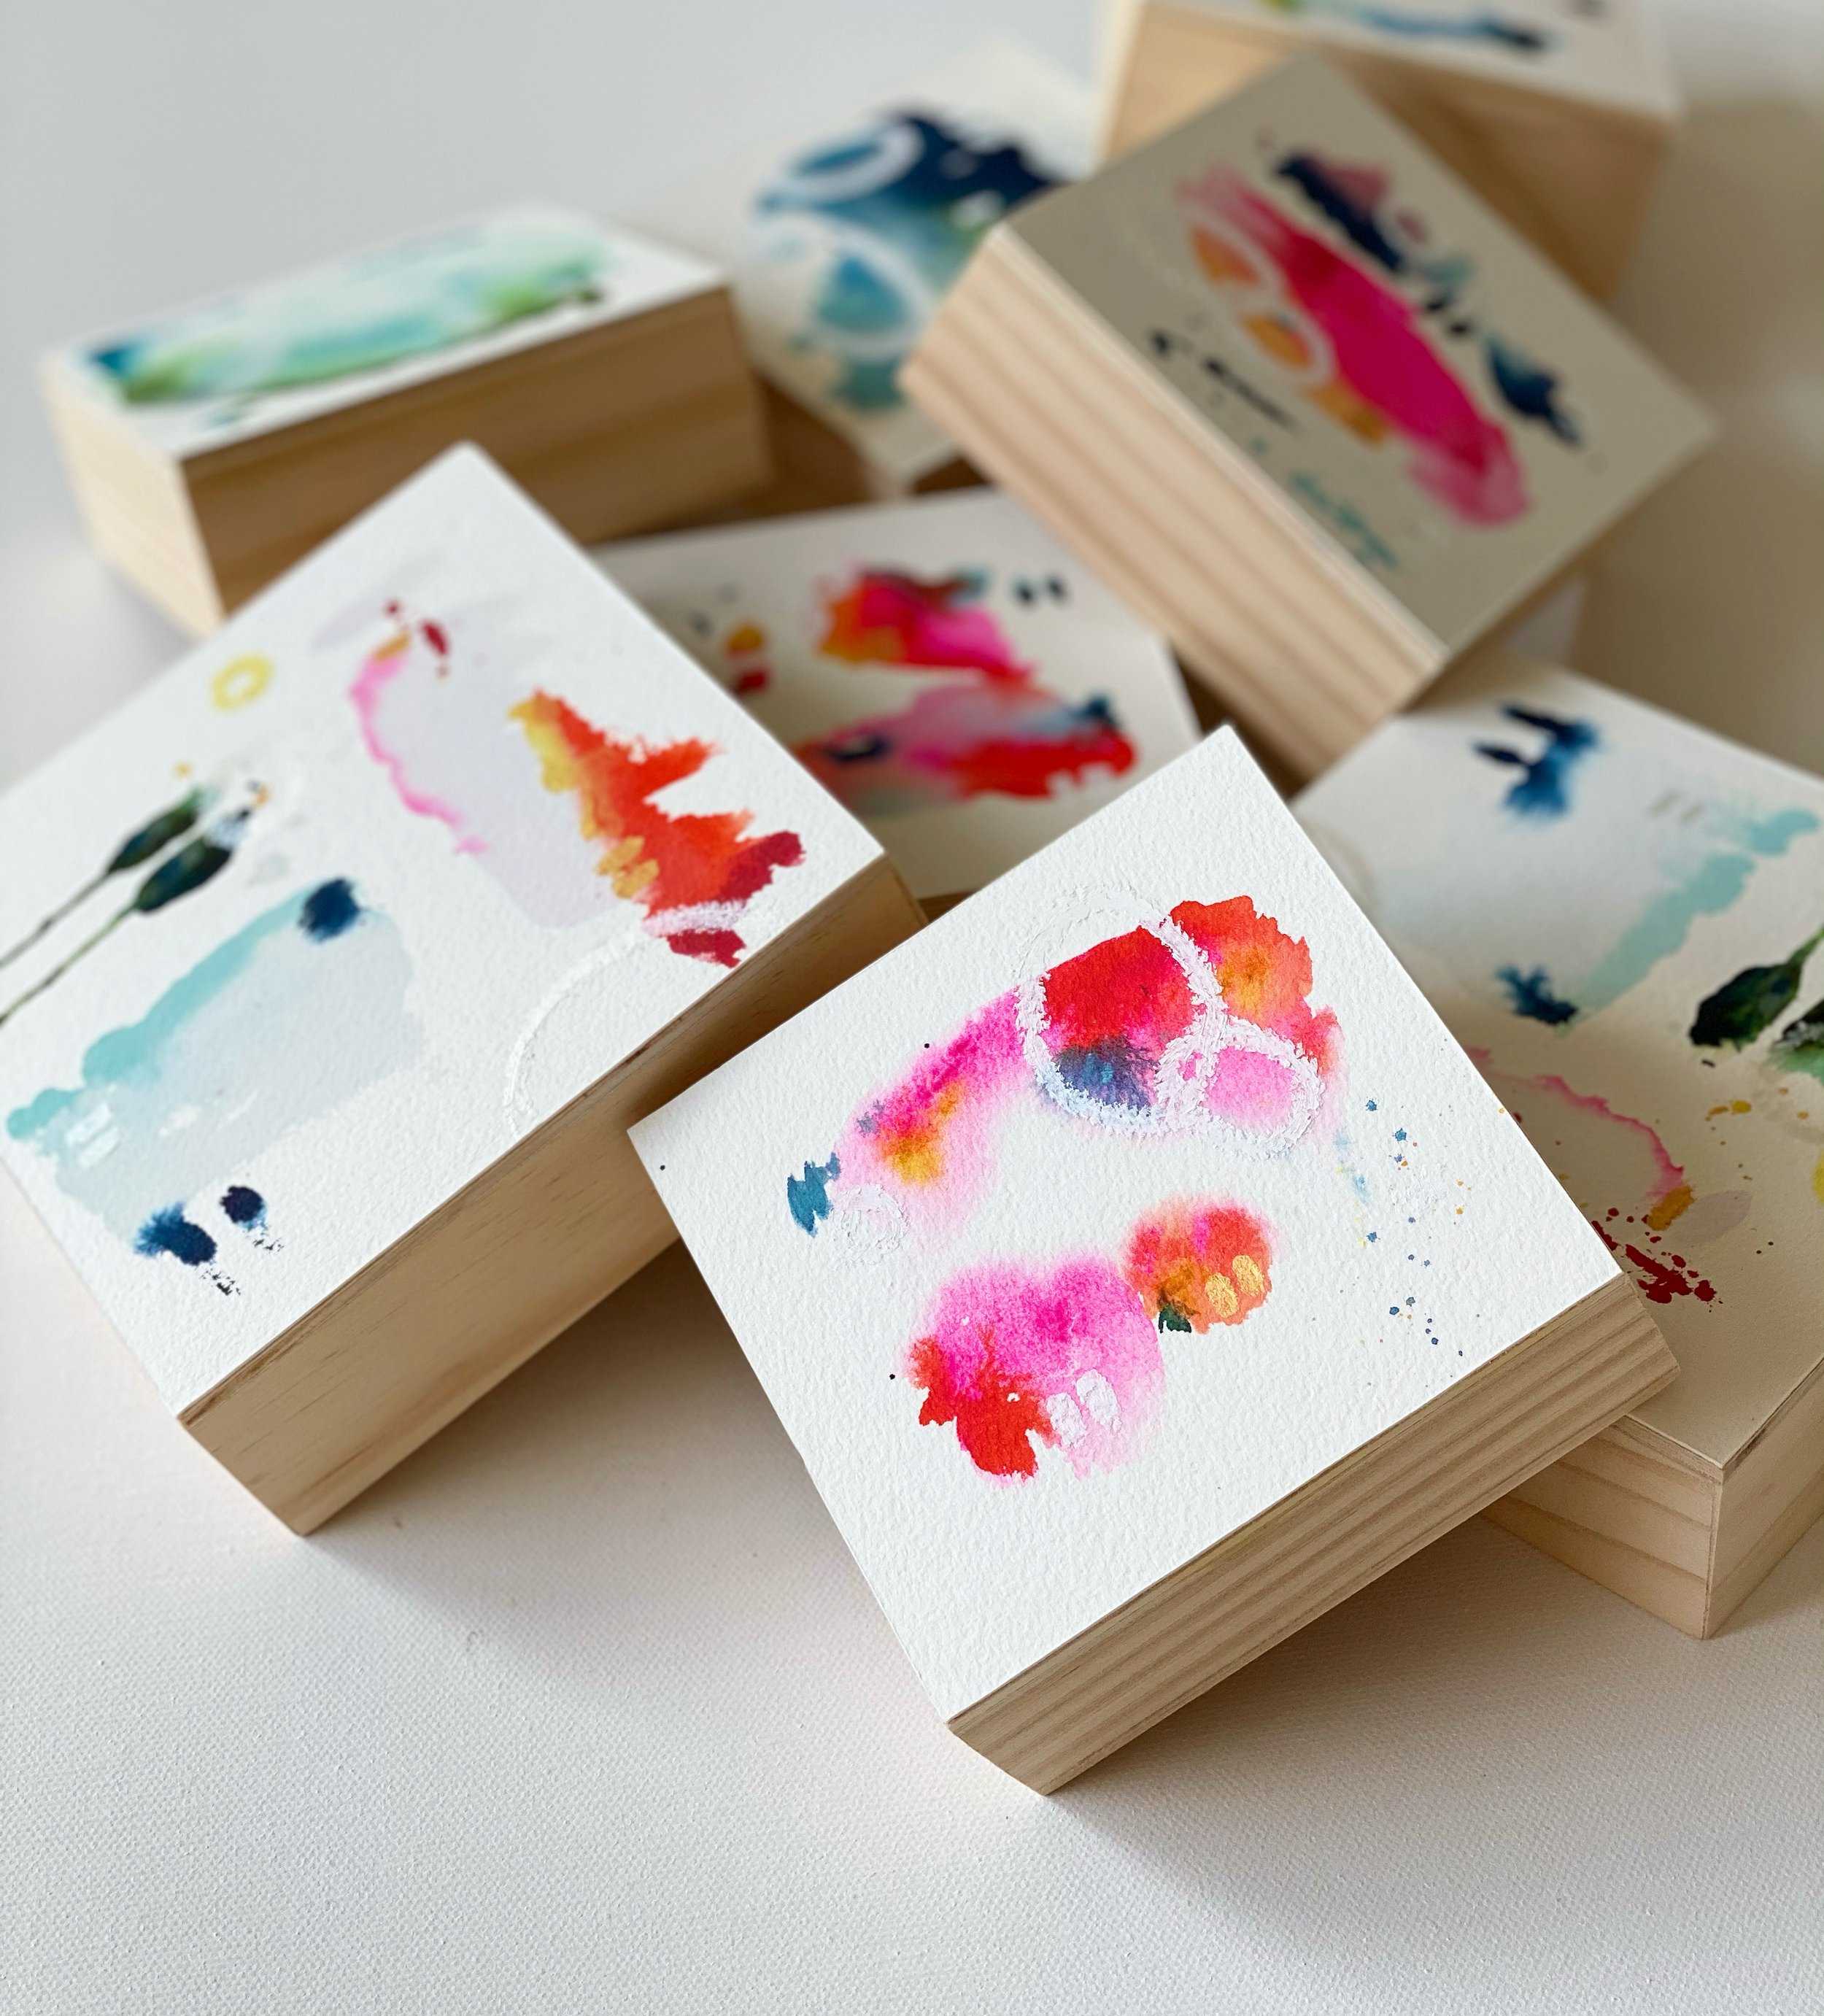
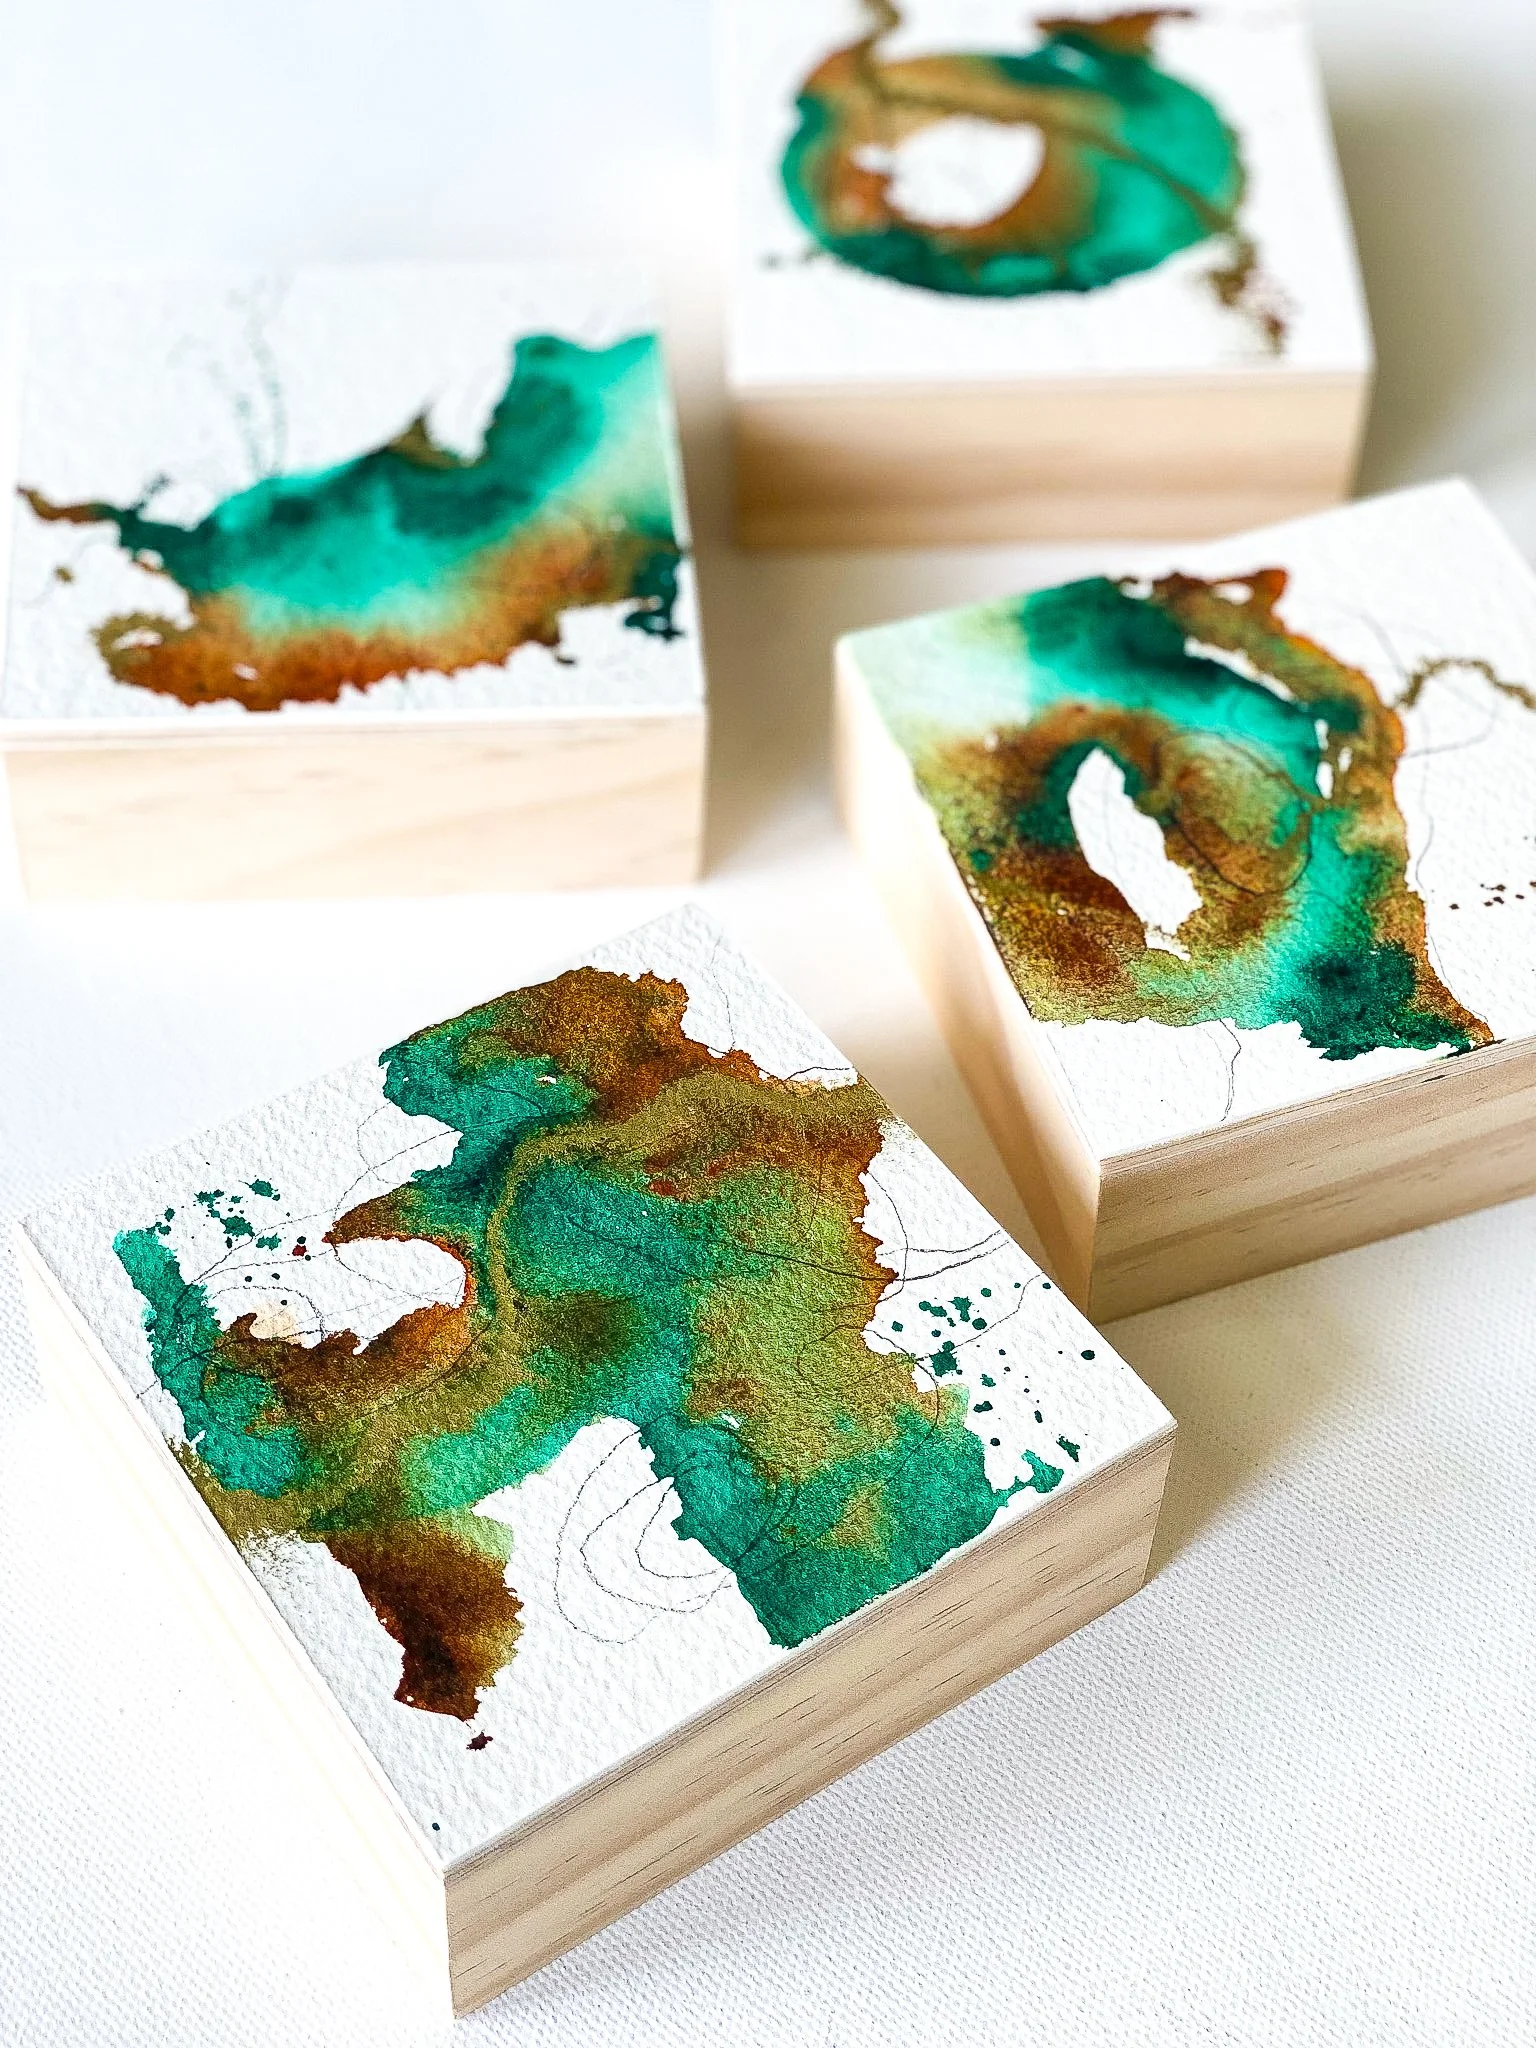
8. Painting:
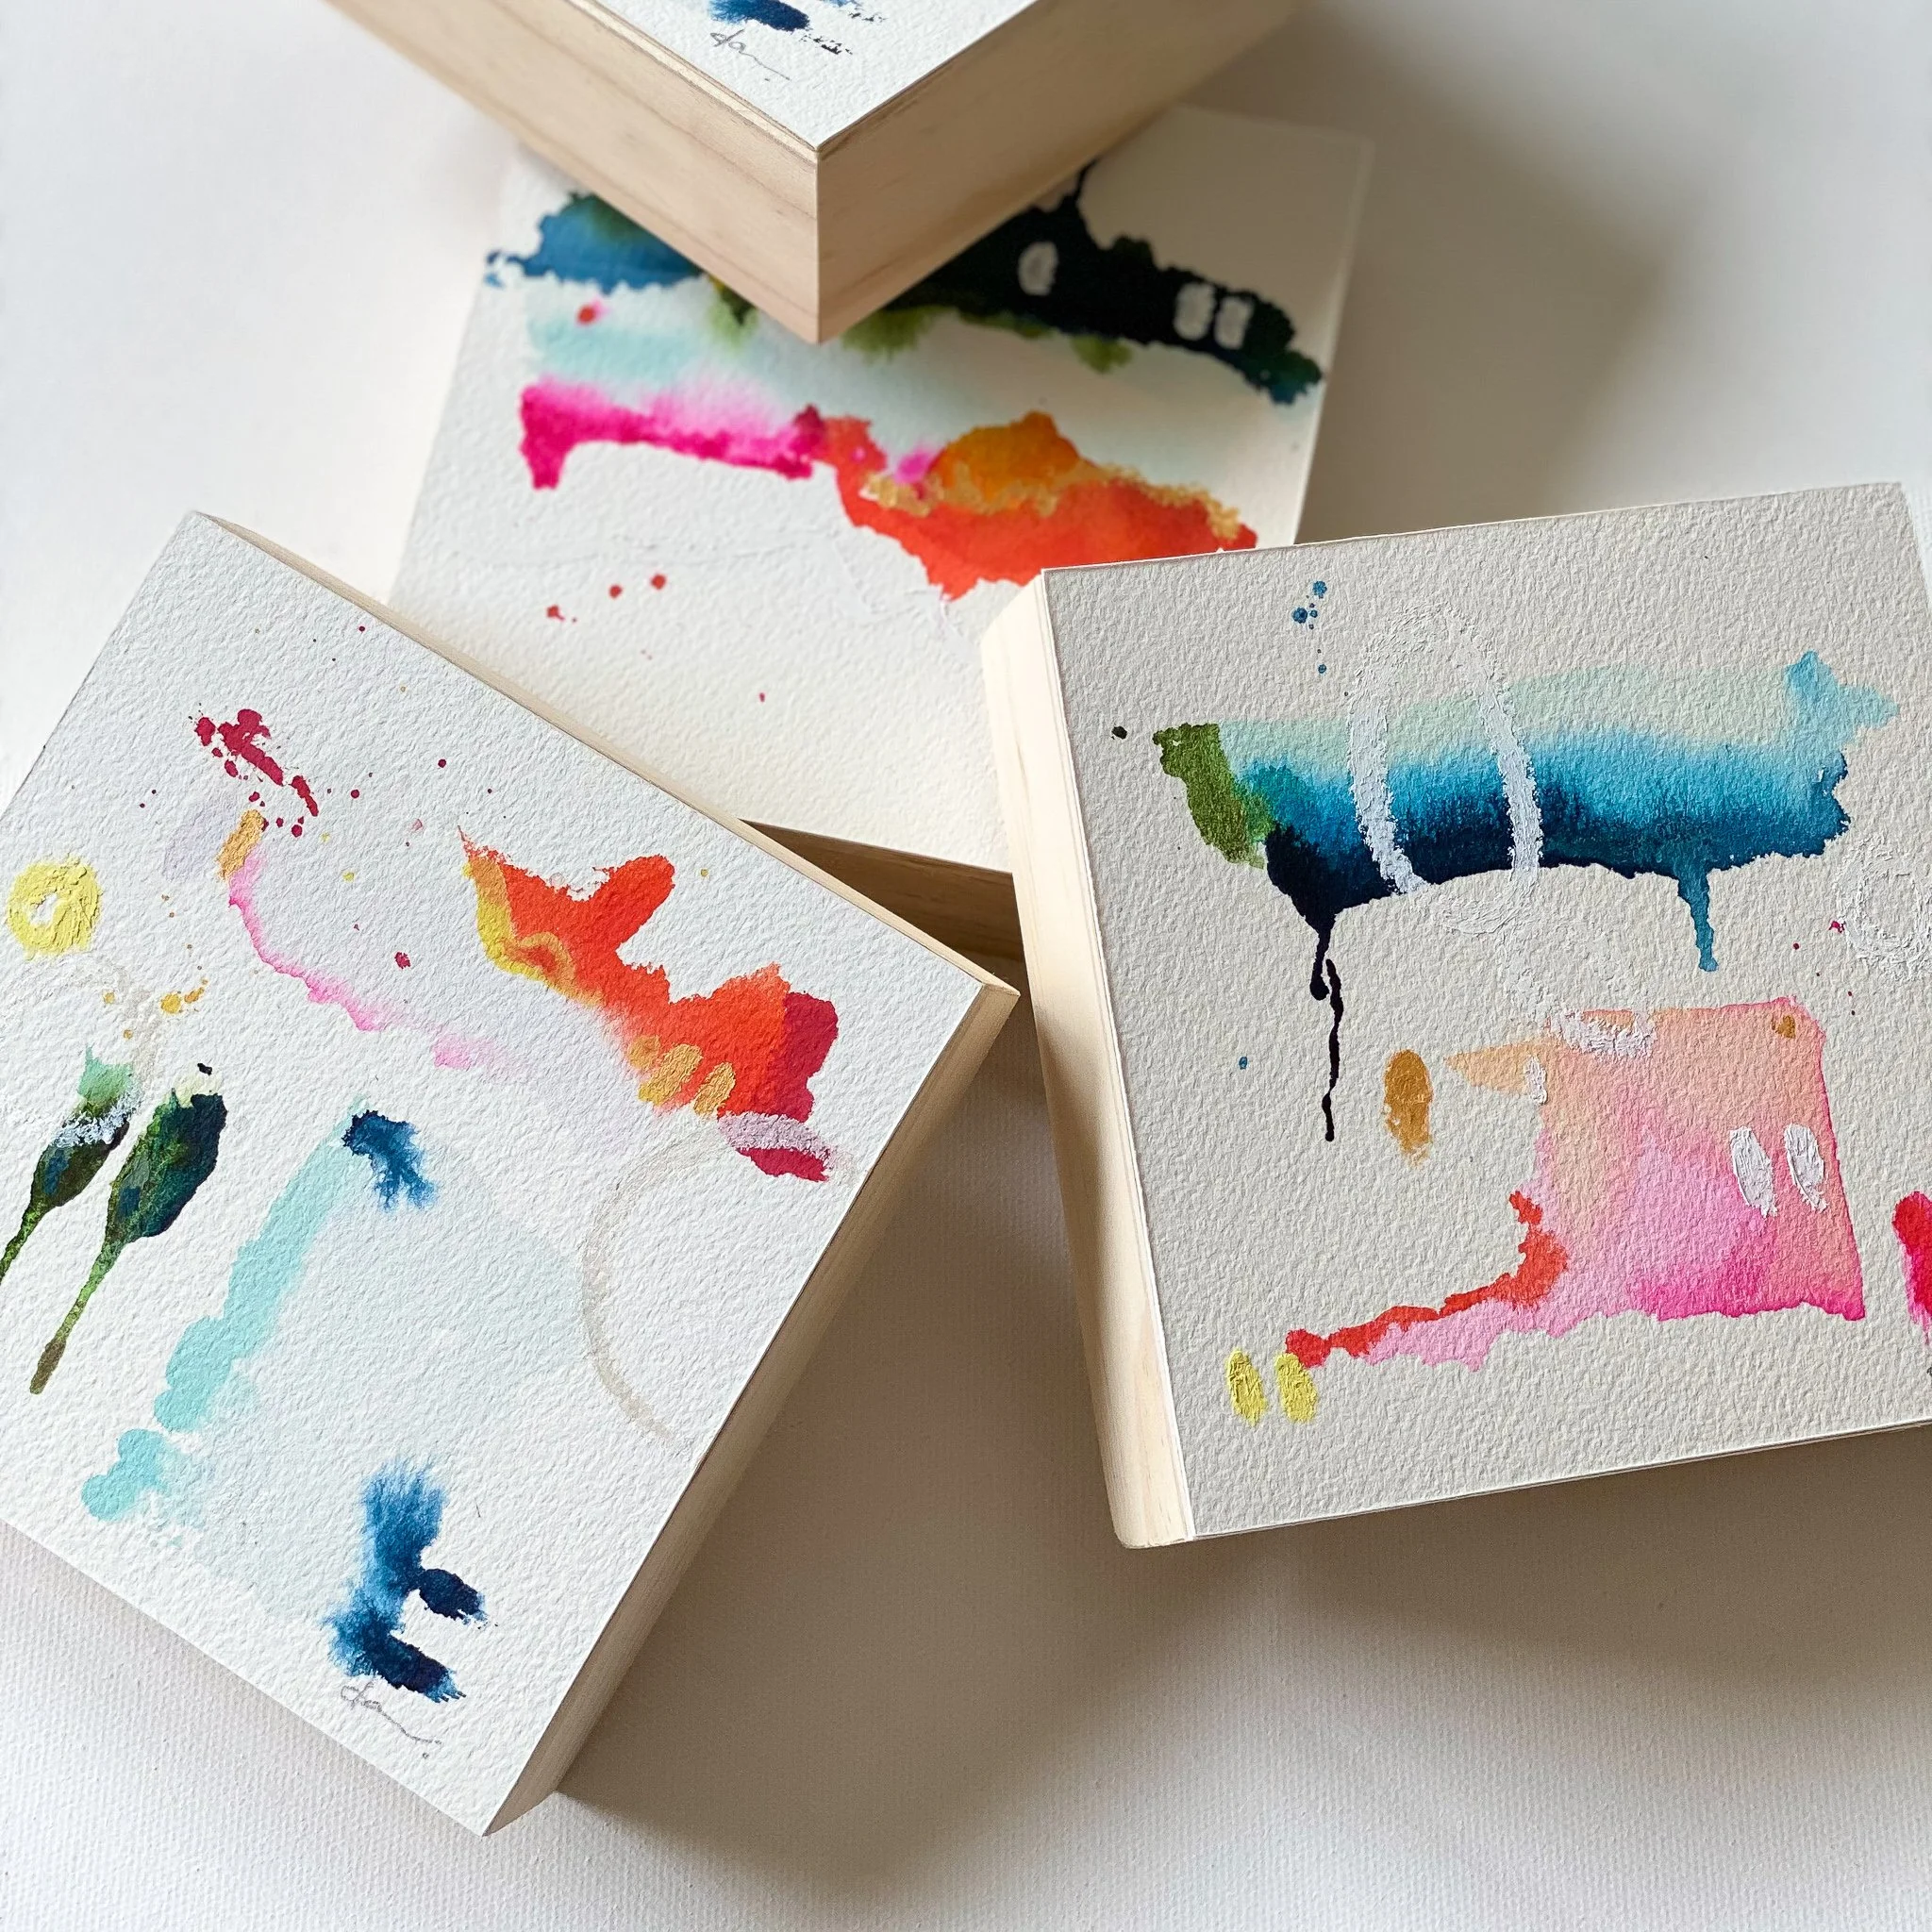
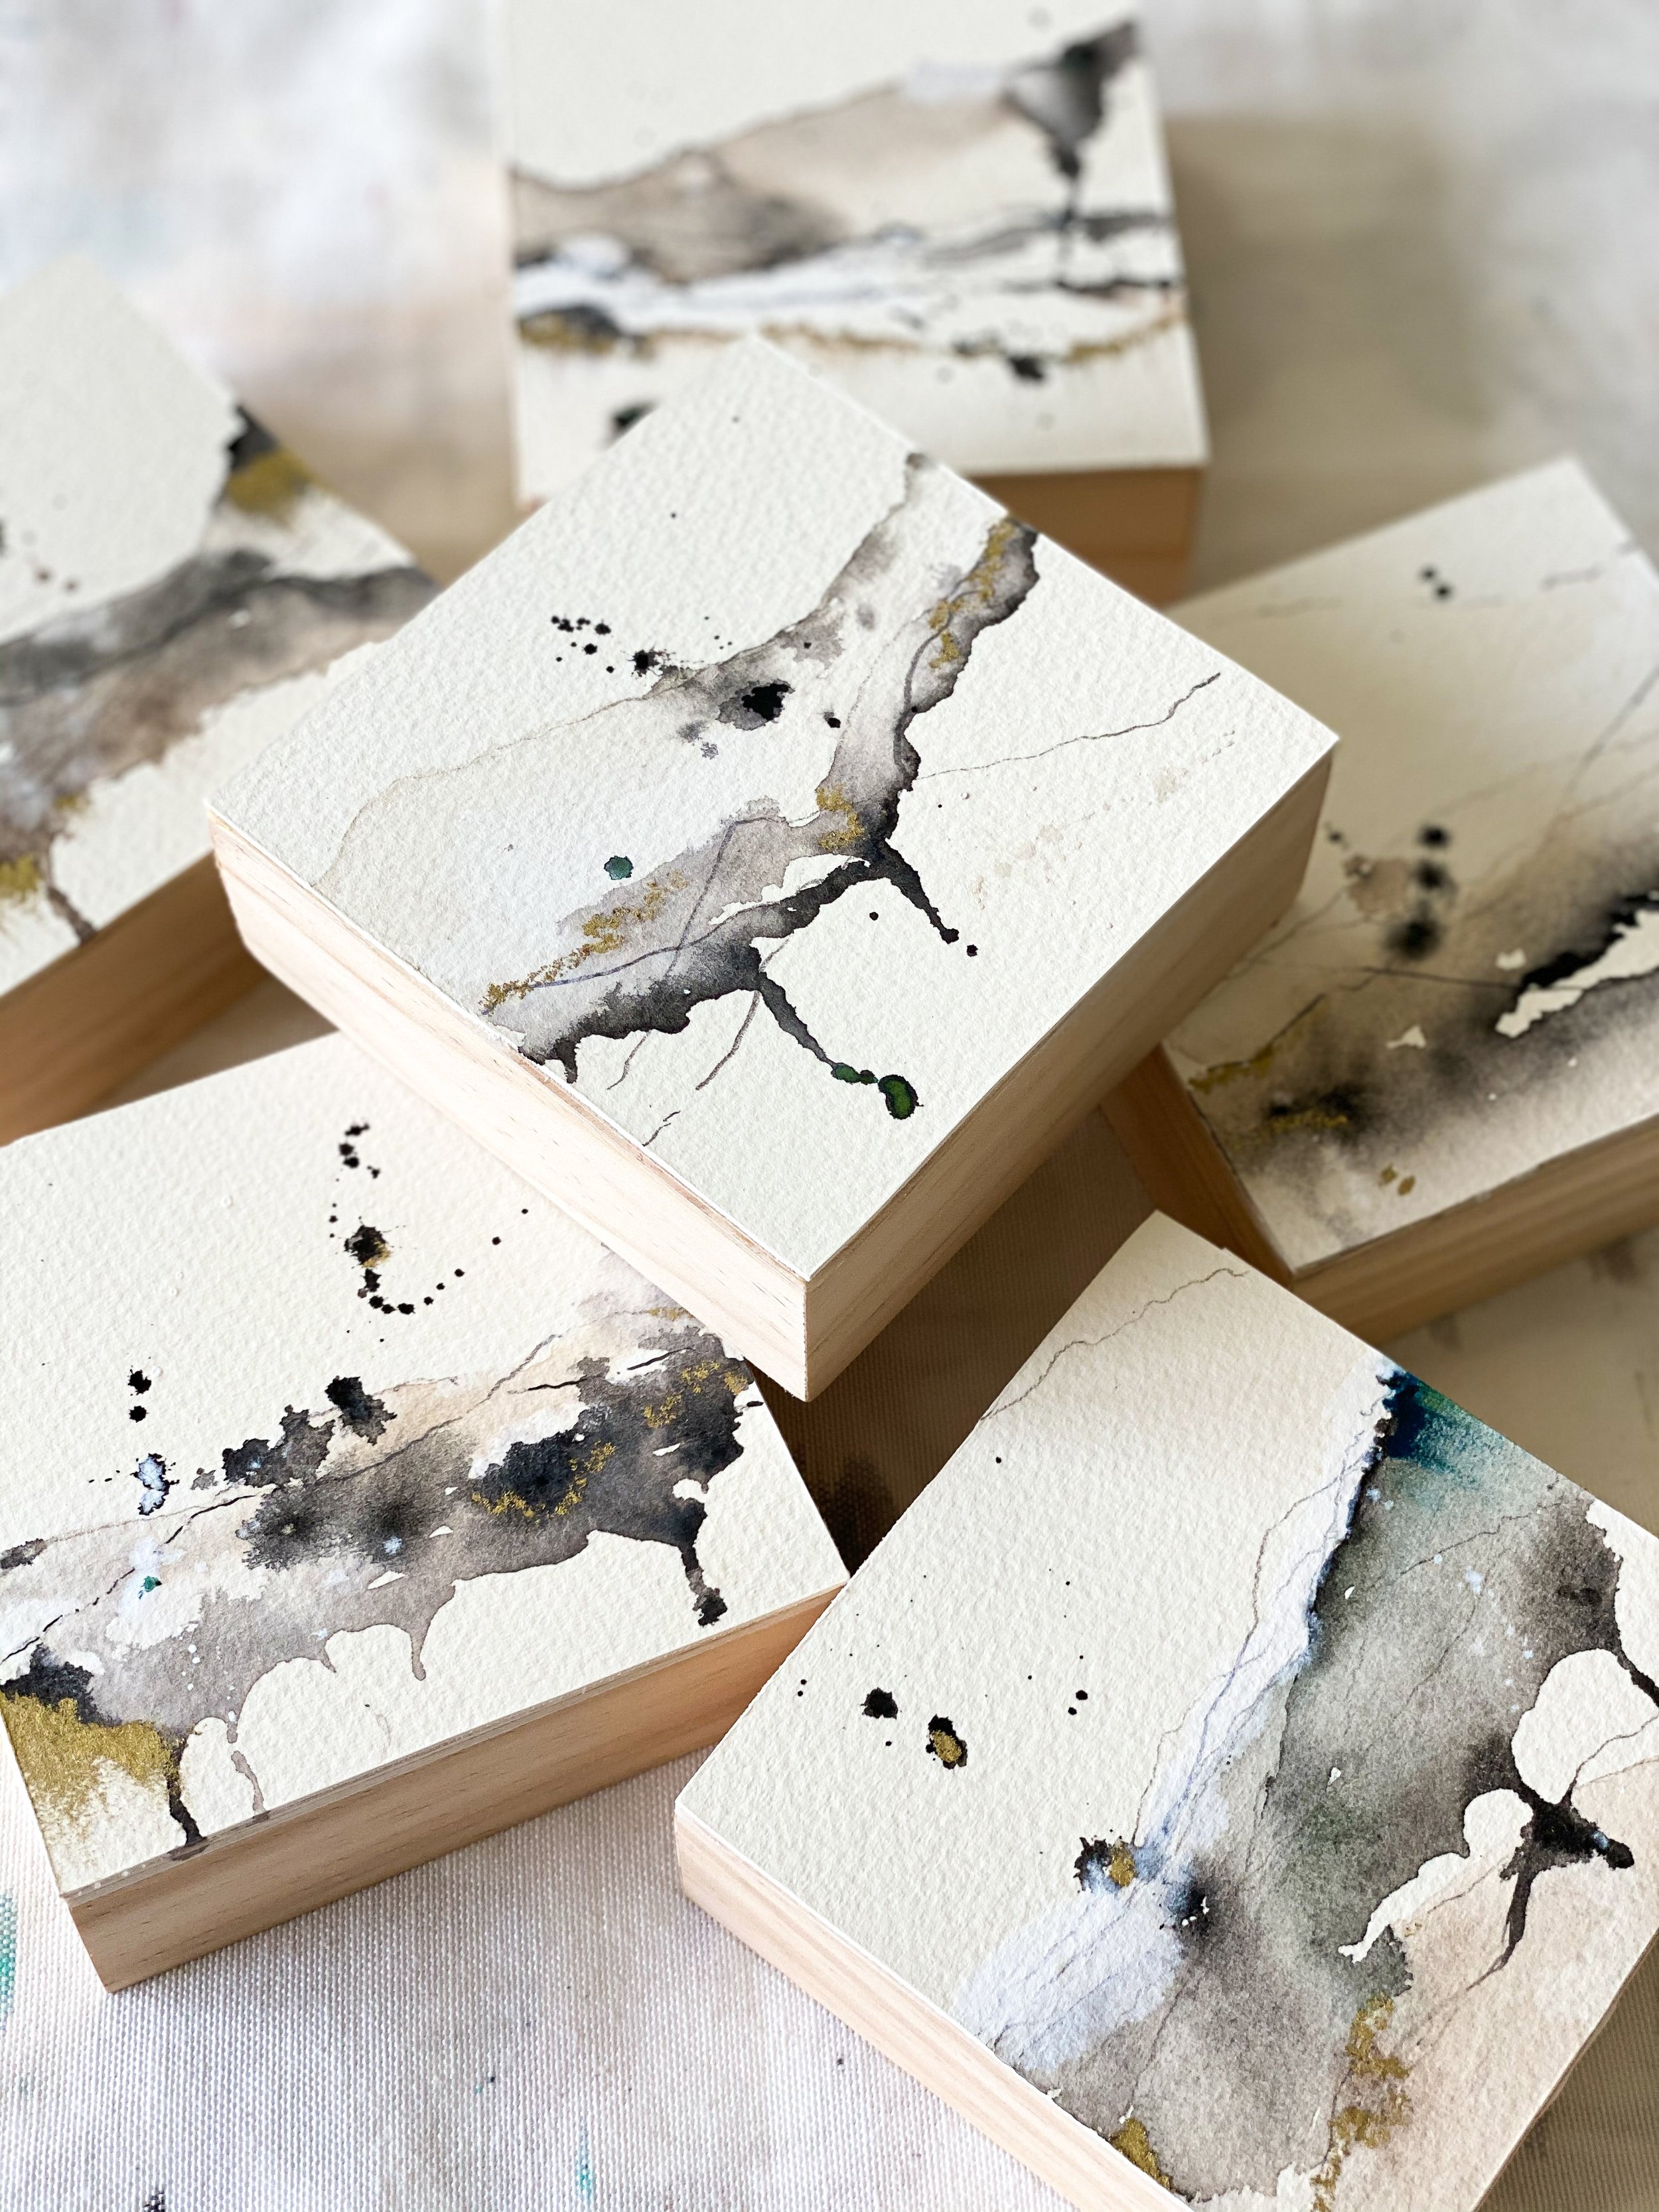
I began painting on these panels at the beginning of my art journey. I loved painting on these mini-canvases because they allowed me to practice and solidify the ideas and thoughts I had as a collection was developing, but they are also perfect little works of art collectors love to own.
Enjoy (and let me know how it goes)!